|
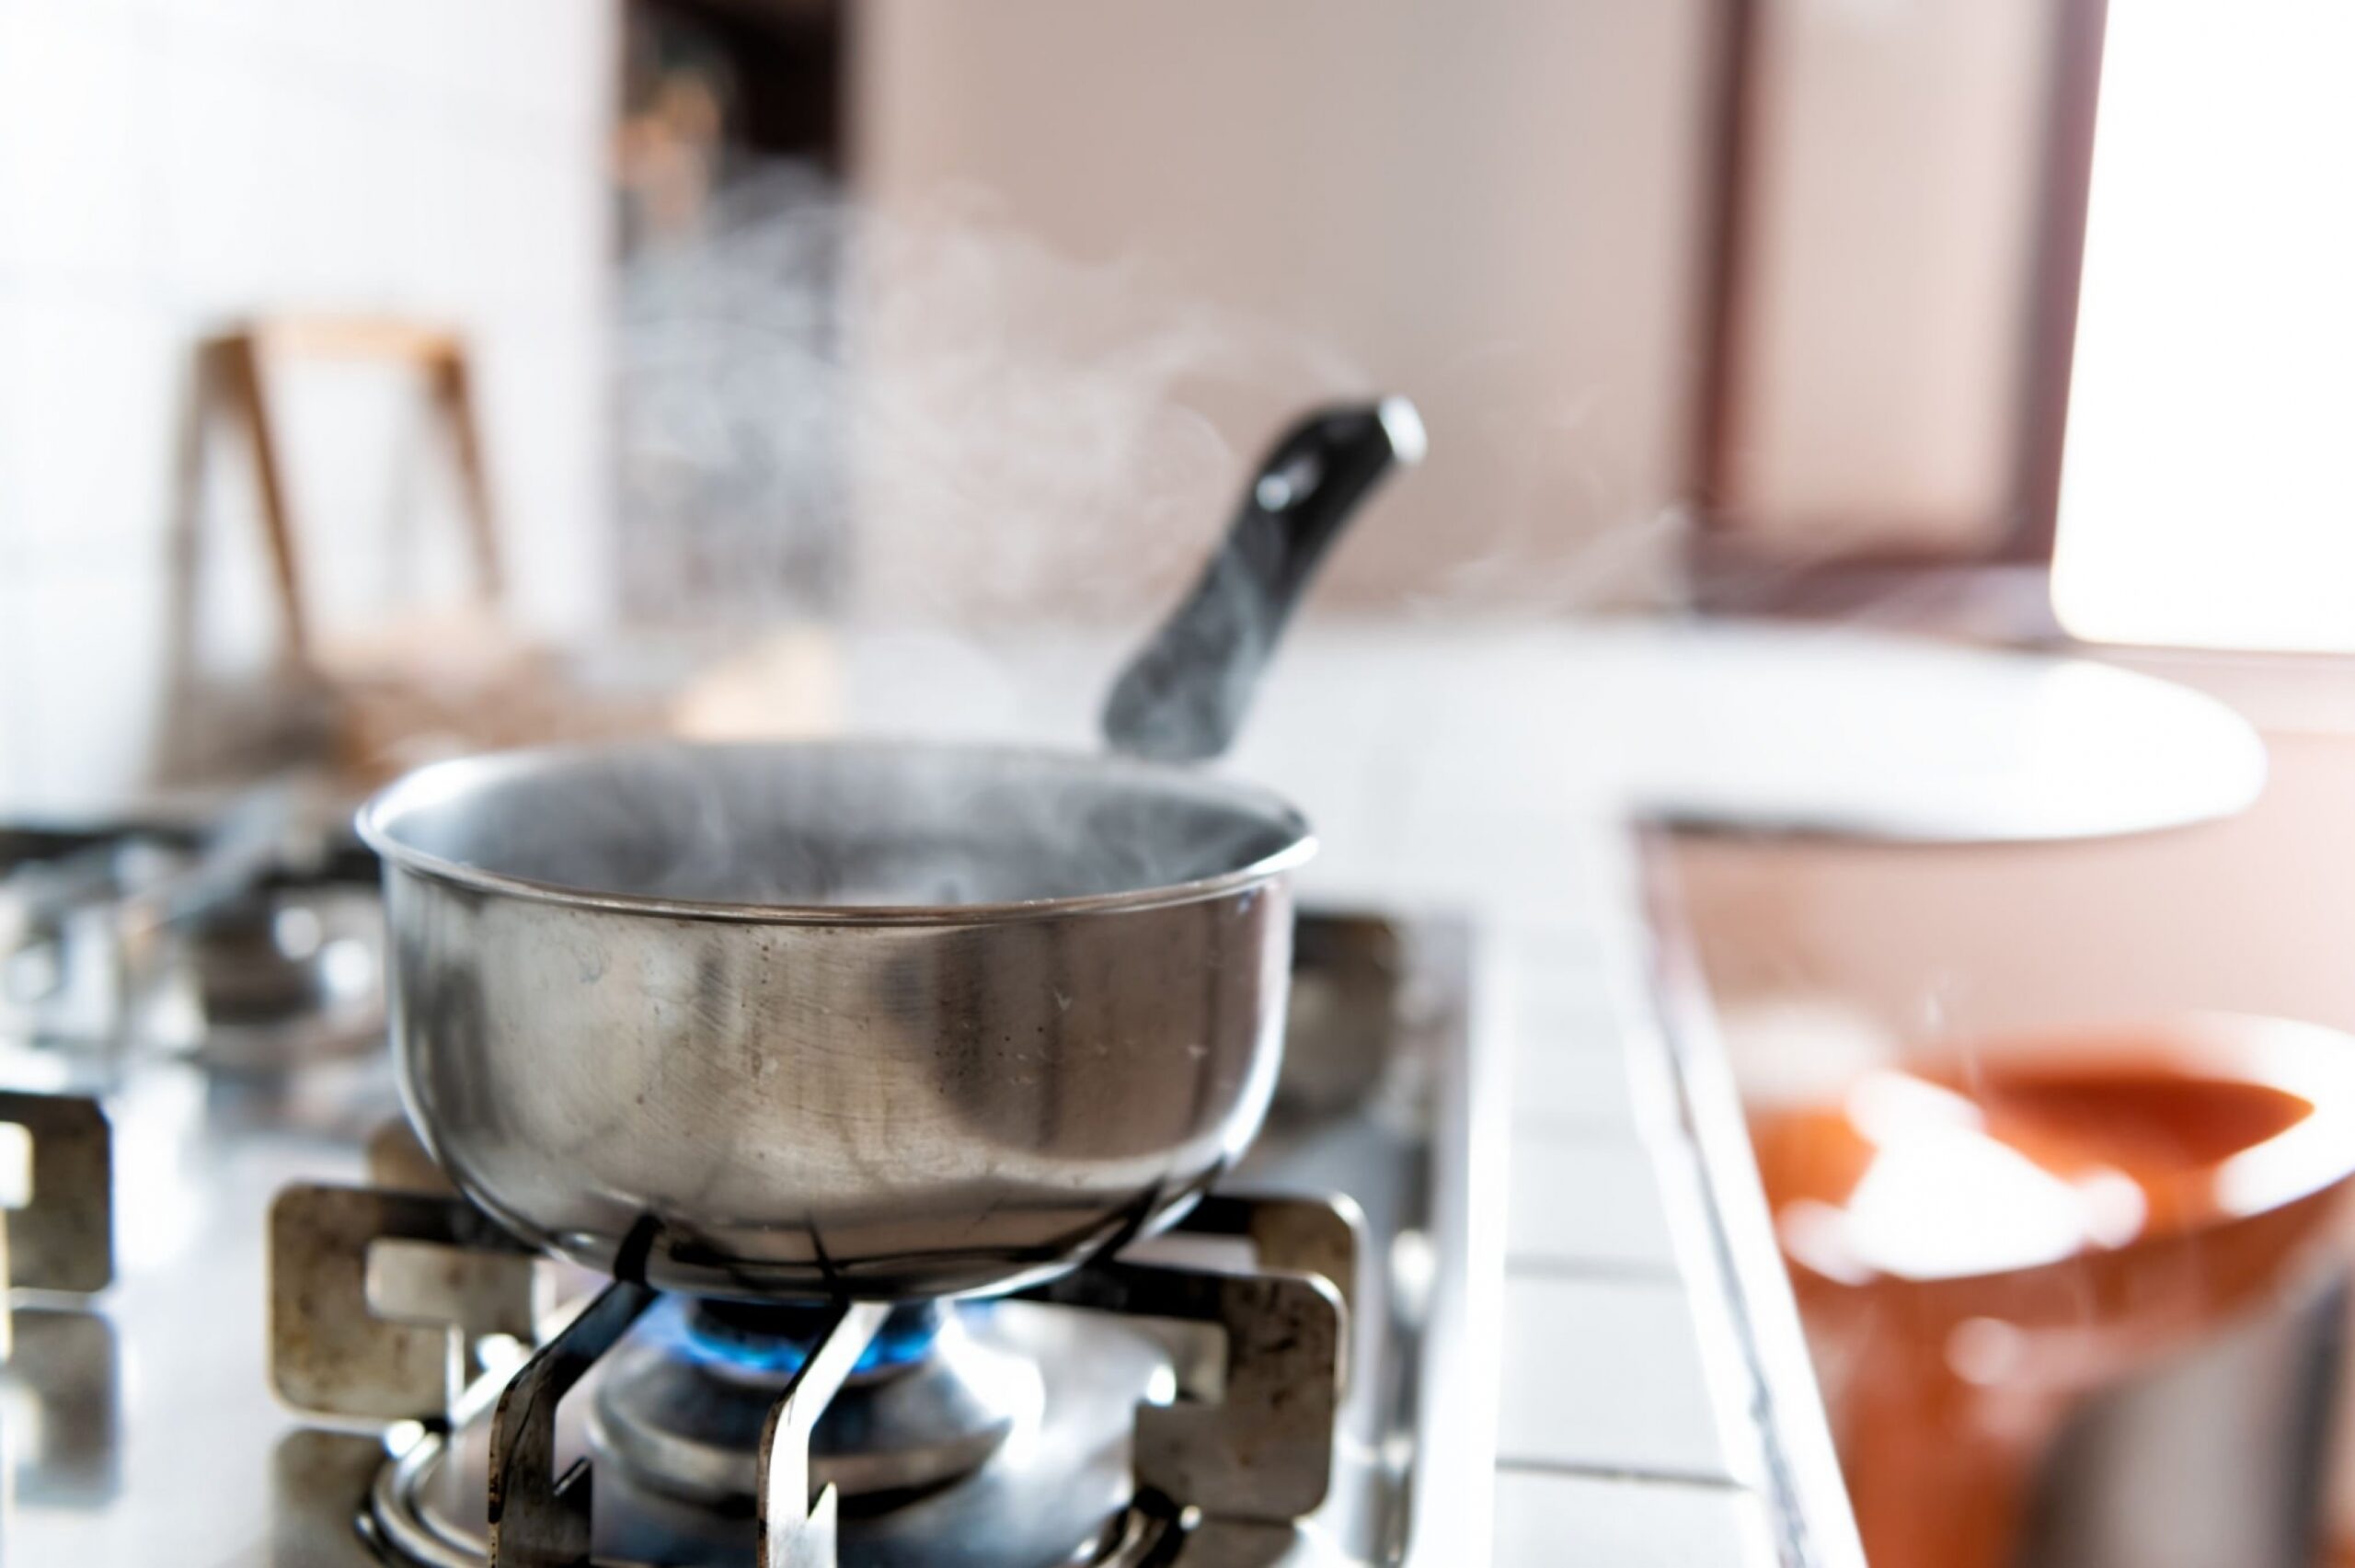
A nice big bite of a juicy hamburger or hovering over a cooking pan without an apron can catch anyone by oily surprise, it happens to us all even at the worst times. Accidents happen no matter how hard you try to avoid them, but that doesn’t mean you have to say goodbye to your favorite shirt.
Follow our quick and easy method below to learn the best tips for removing stubborn oil and grease stains from your clothing.
Why Are Oil Stains So Difficult to Remove?
Grease and oil leave behind some of the most annoyingly stubborn stains on clothing. These stains can be hard to clean, but luckily it is not impossible. How successful the removal is really depends on the state of the stain, the material, the color of the fabric, and the method you use to clean it.
Even if a stain is small and light when you first catch it, it can darken on the fabric over time as it sets in, which is why it’s essential to remove them as soon as possible. The longer you wait to treat and remove the stain, the more absorbed the oil and grease will become into your clothing.
Once it dries, the stain will be pretty difficult to remove and might even ruin your clothes. So how do you save your clothing before those annoying stains have time to set in? Keep reading to find out what tips and tricks we have for you.
What You’ll Need to Get Oil Out of Clothes
When you are checking around your home to find the right things to use against an oil or grease stain, you’ll want to make sure you use the right products and tools. Here is a general list of products you can use to treat oil stains, according to the method we provided below:
How to Get Oil Stains Out of Clothes
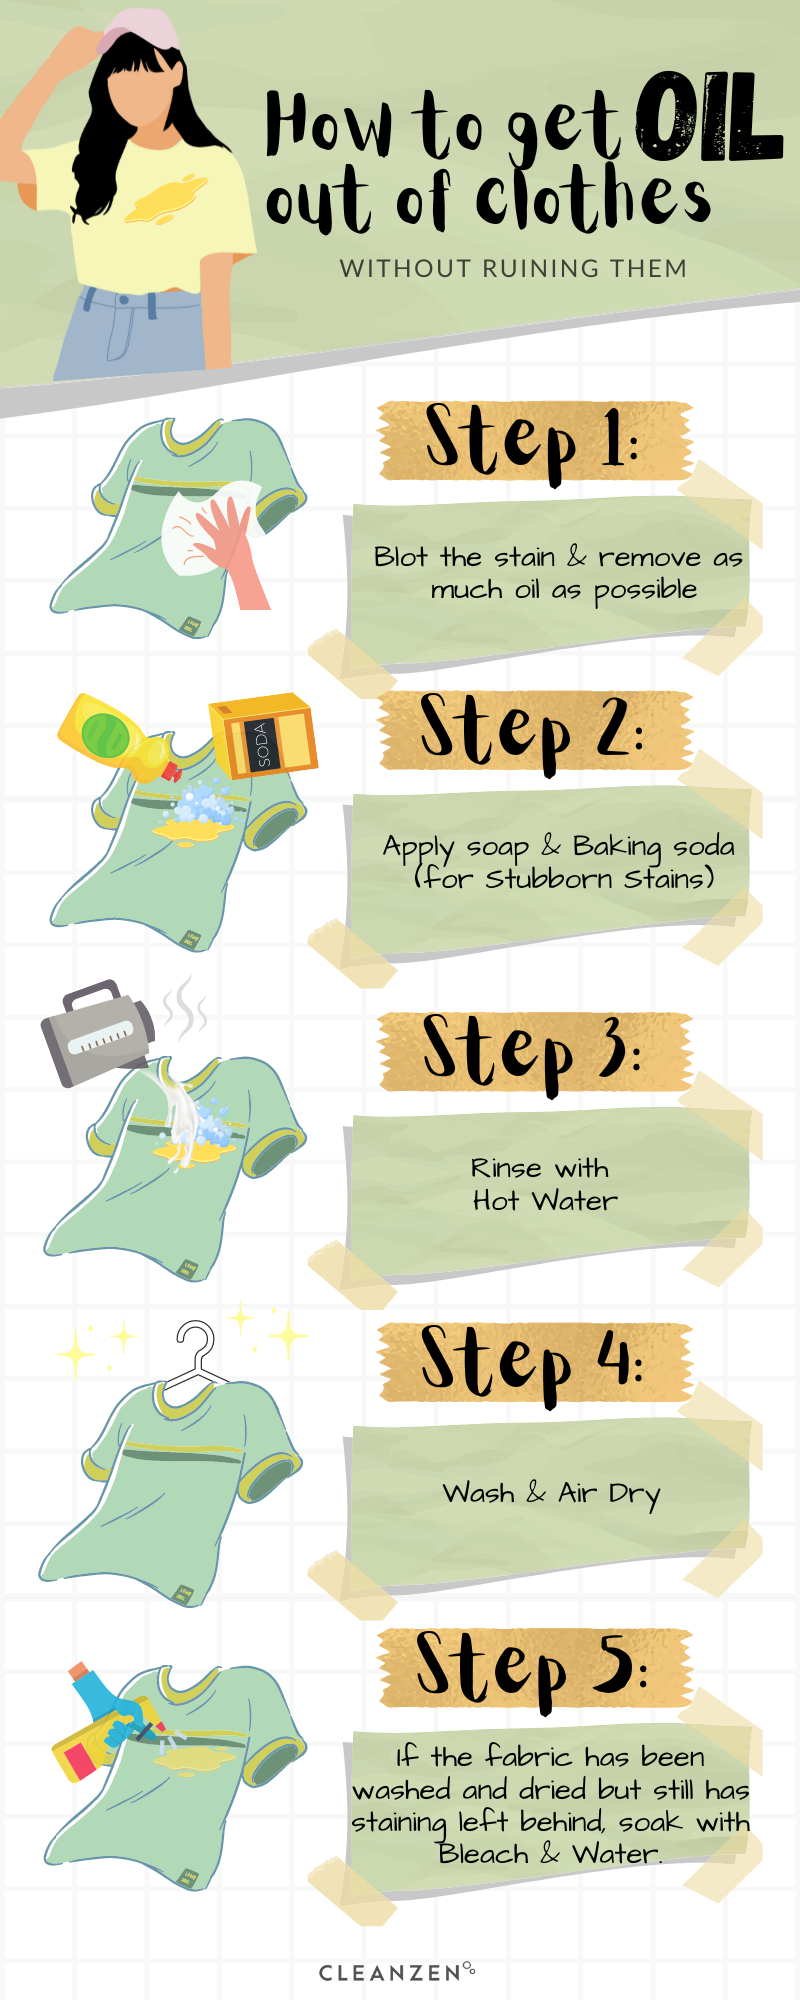
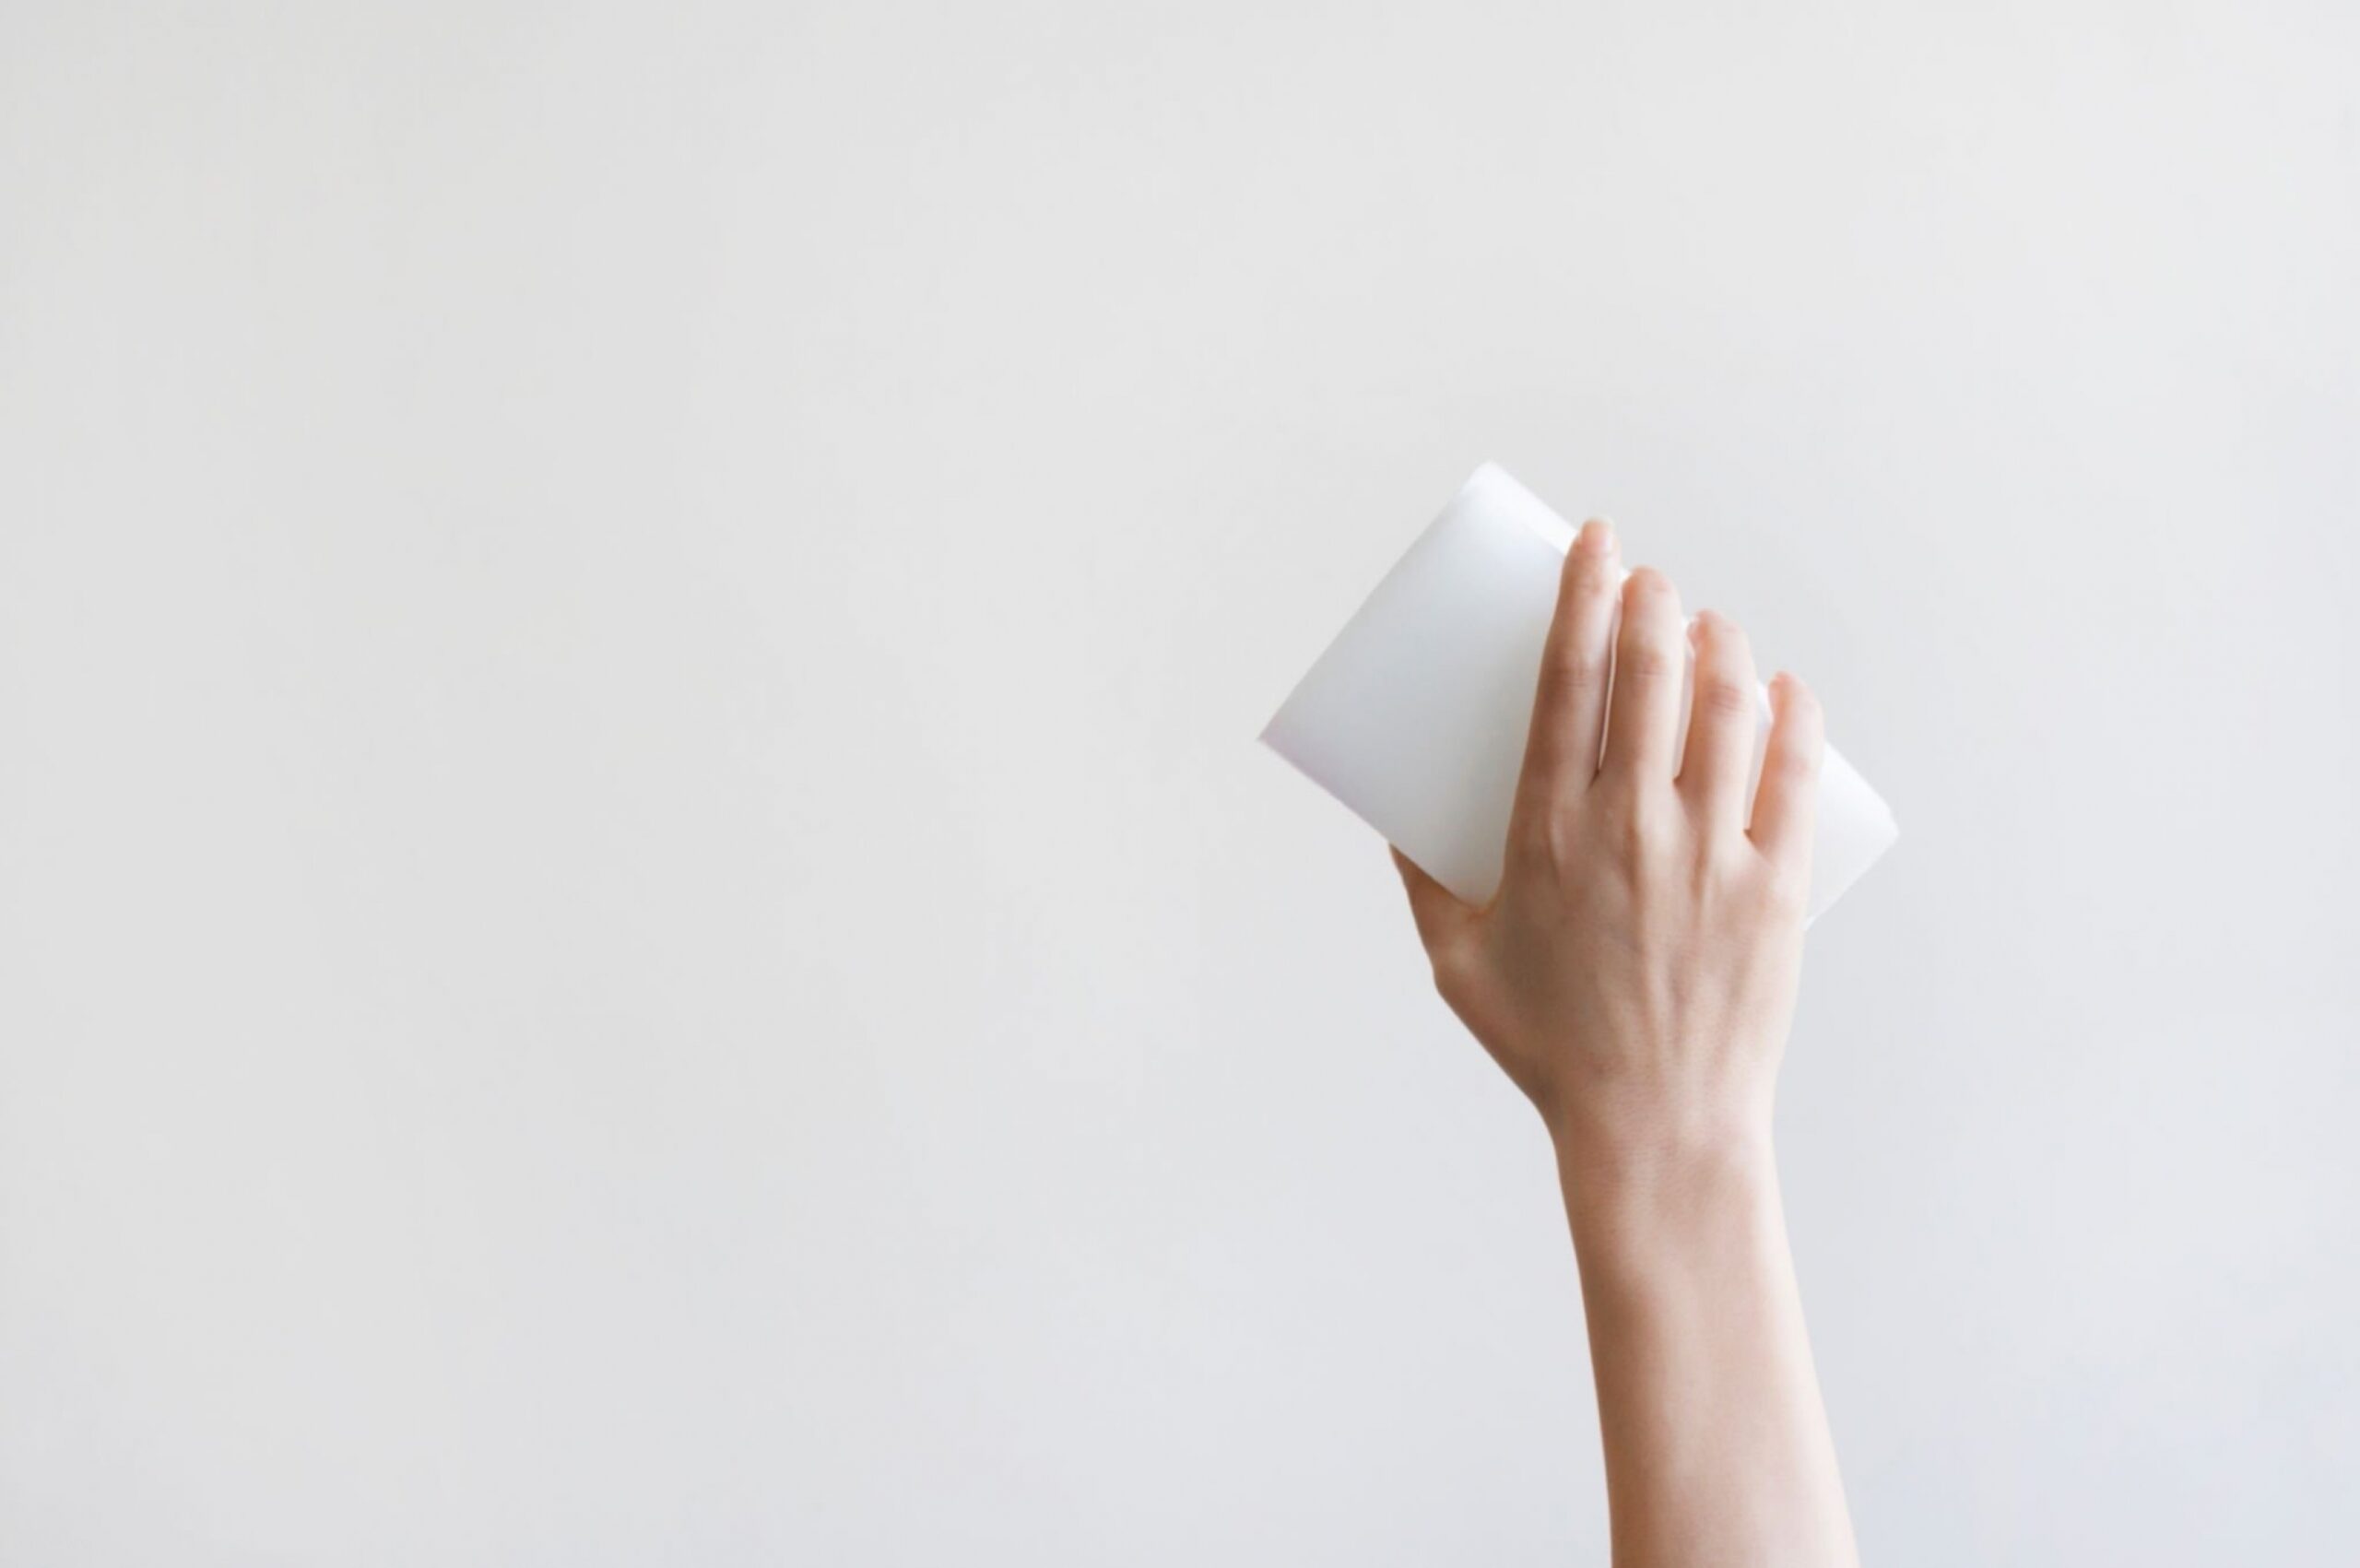
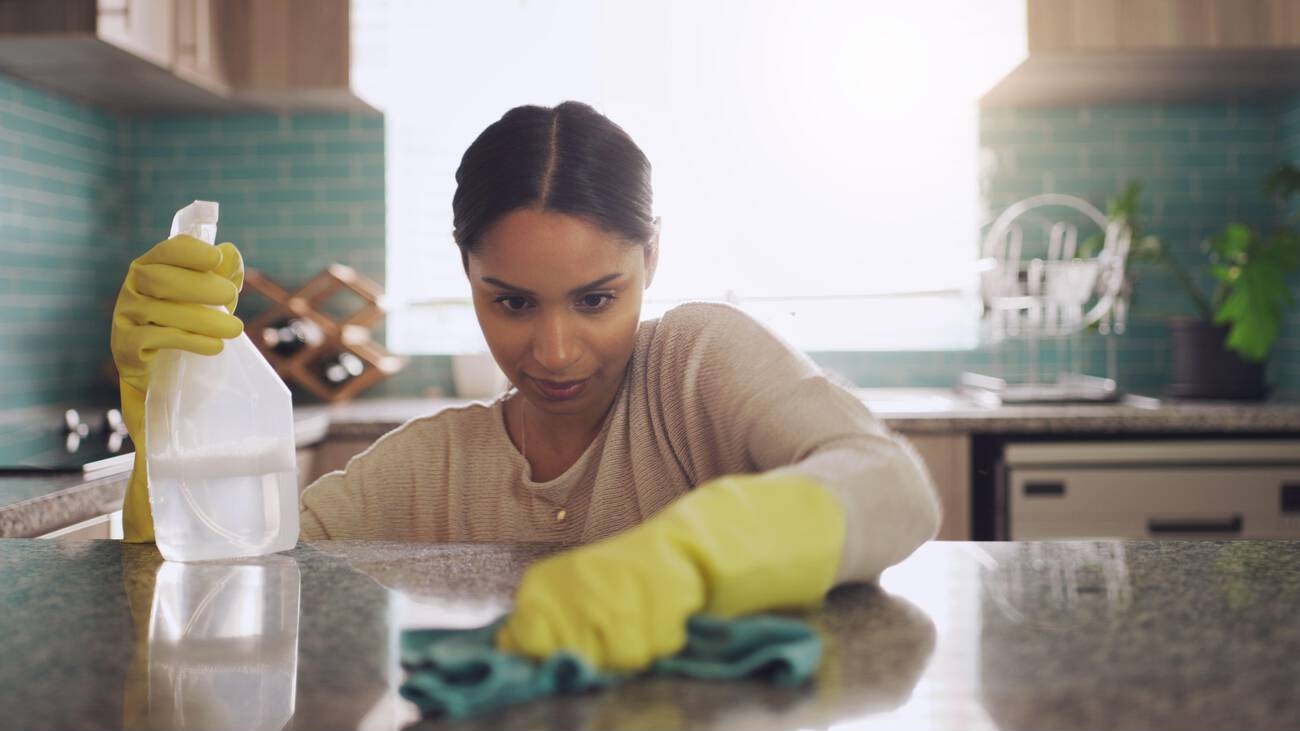
Blot the StainUse a paper towel, napkin, or microfiber cloth to blot away as much of the oil as possible as soon as you notice the stain. This will make it easier to clean and treat the stain once you start washing it. Avoid rubbing at the stain, as this will only push the grease and oil deeper into the fabric’s fibers and make it even harder to fully remove it.
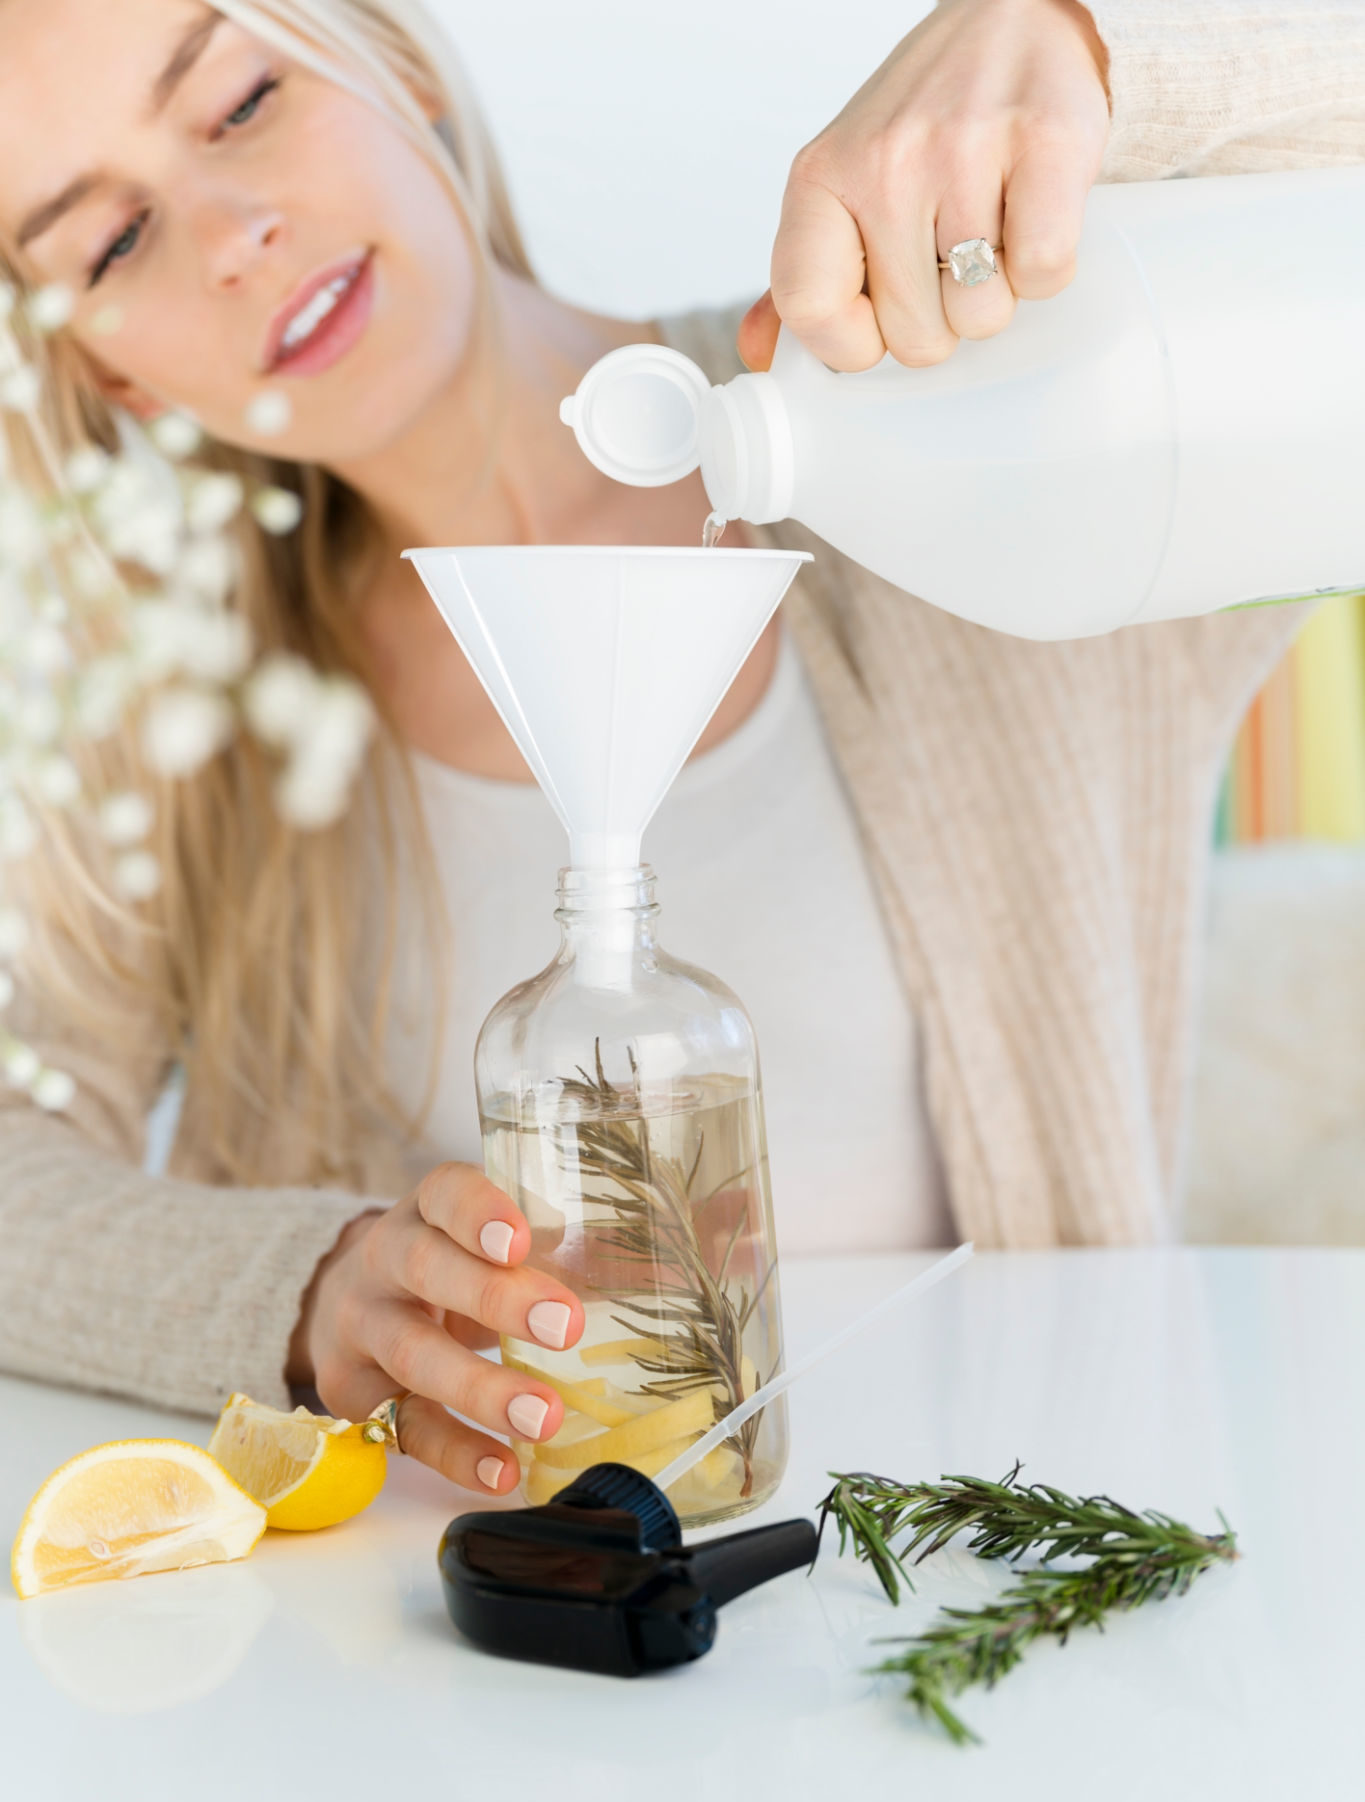
Apply SoapLay the piece of clothing on a flat surface and put a few drops of dish soap directly onto the stain. Work the soap into the fabric with your hands or with a toothbrush to bring the soap to a lather to loosen the oil and grease.
Apply Baking Soda (for stubborn stains)If you’re dealing with more stubborn and set-in stains, sprinkle a bit of baking soda directly onto the stain with the dish soap. Scrub the powder and soap with a toothbrush and then let it sit for a few minutes until the baking soda dries slightly and covers the stain in a hard paste.
Rinse with Hot WaterAfter you’ve allowed the dish soap, and baking soda if needed, to work on fighting the stain for about an hour, rinse the clothing with hot water. Once you are done, dip the affected area on the fabric in hot water and leave it for another hour.
Wash & Air DryOnce the stain is all but gone from the clothing, wash the garment in your washing machine on a warm water cycle and then let it air dry rather than in your dryer. If the stain has not been completely lifted and removed, you may want to repeat the previous steps once again.
Soak with Bleach & Water (for stubborn stains)Sometimes, stubborn stains can require more drastic measures. If the fabric has been washed and dried but still has staining left behind, dip it in some warm water mixed with a color-safe bleach and let allow this to sit for about an hour. Once it has been left to soak, wash and dry the garment as normal.
Tips, Tricks, & FAQs
How to Get Motor Oil Out of Clothes?
Are Oil Stains Permanent?
The short answer is, they can be. However, if you catch and treat oil stains quickly, you have a better chance to remove them. The best course of action is to blot fresh stains quickly and treat them even quicker. The longer you wait to treat oil or grease stains, the more likely they are to be permanent.
Unfortunately, success isn’t always guaranteed and you can sometimes be left with a permanent stain. The fibers and fabric of your clothing may contribute to how stubborn oil and grease stains can be. Synthetic fibers like polyester are incredibly difficult to clean because oil and excess grease particles stick to them like magnets, meaning that without proper care and attention, stains could become permanent and ruin your clothes for good.
How Do You Get Oil Stains Out of Jeans?
You can approach oil stains on your jeans and other denim as you would on any other piece of clothing, and since denim is generally made from natural fibers, it is usually more accepting of stain removal than synthetic fibers. Start by blotting the stain so it doesn’t settle into the fibers
How to Get Old Oil Stains Out of Clothes
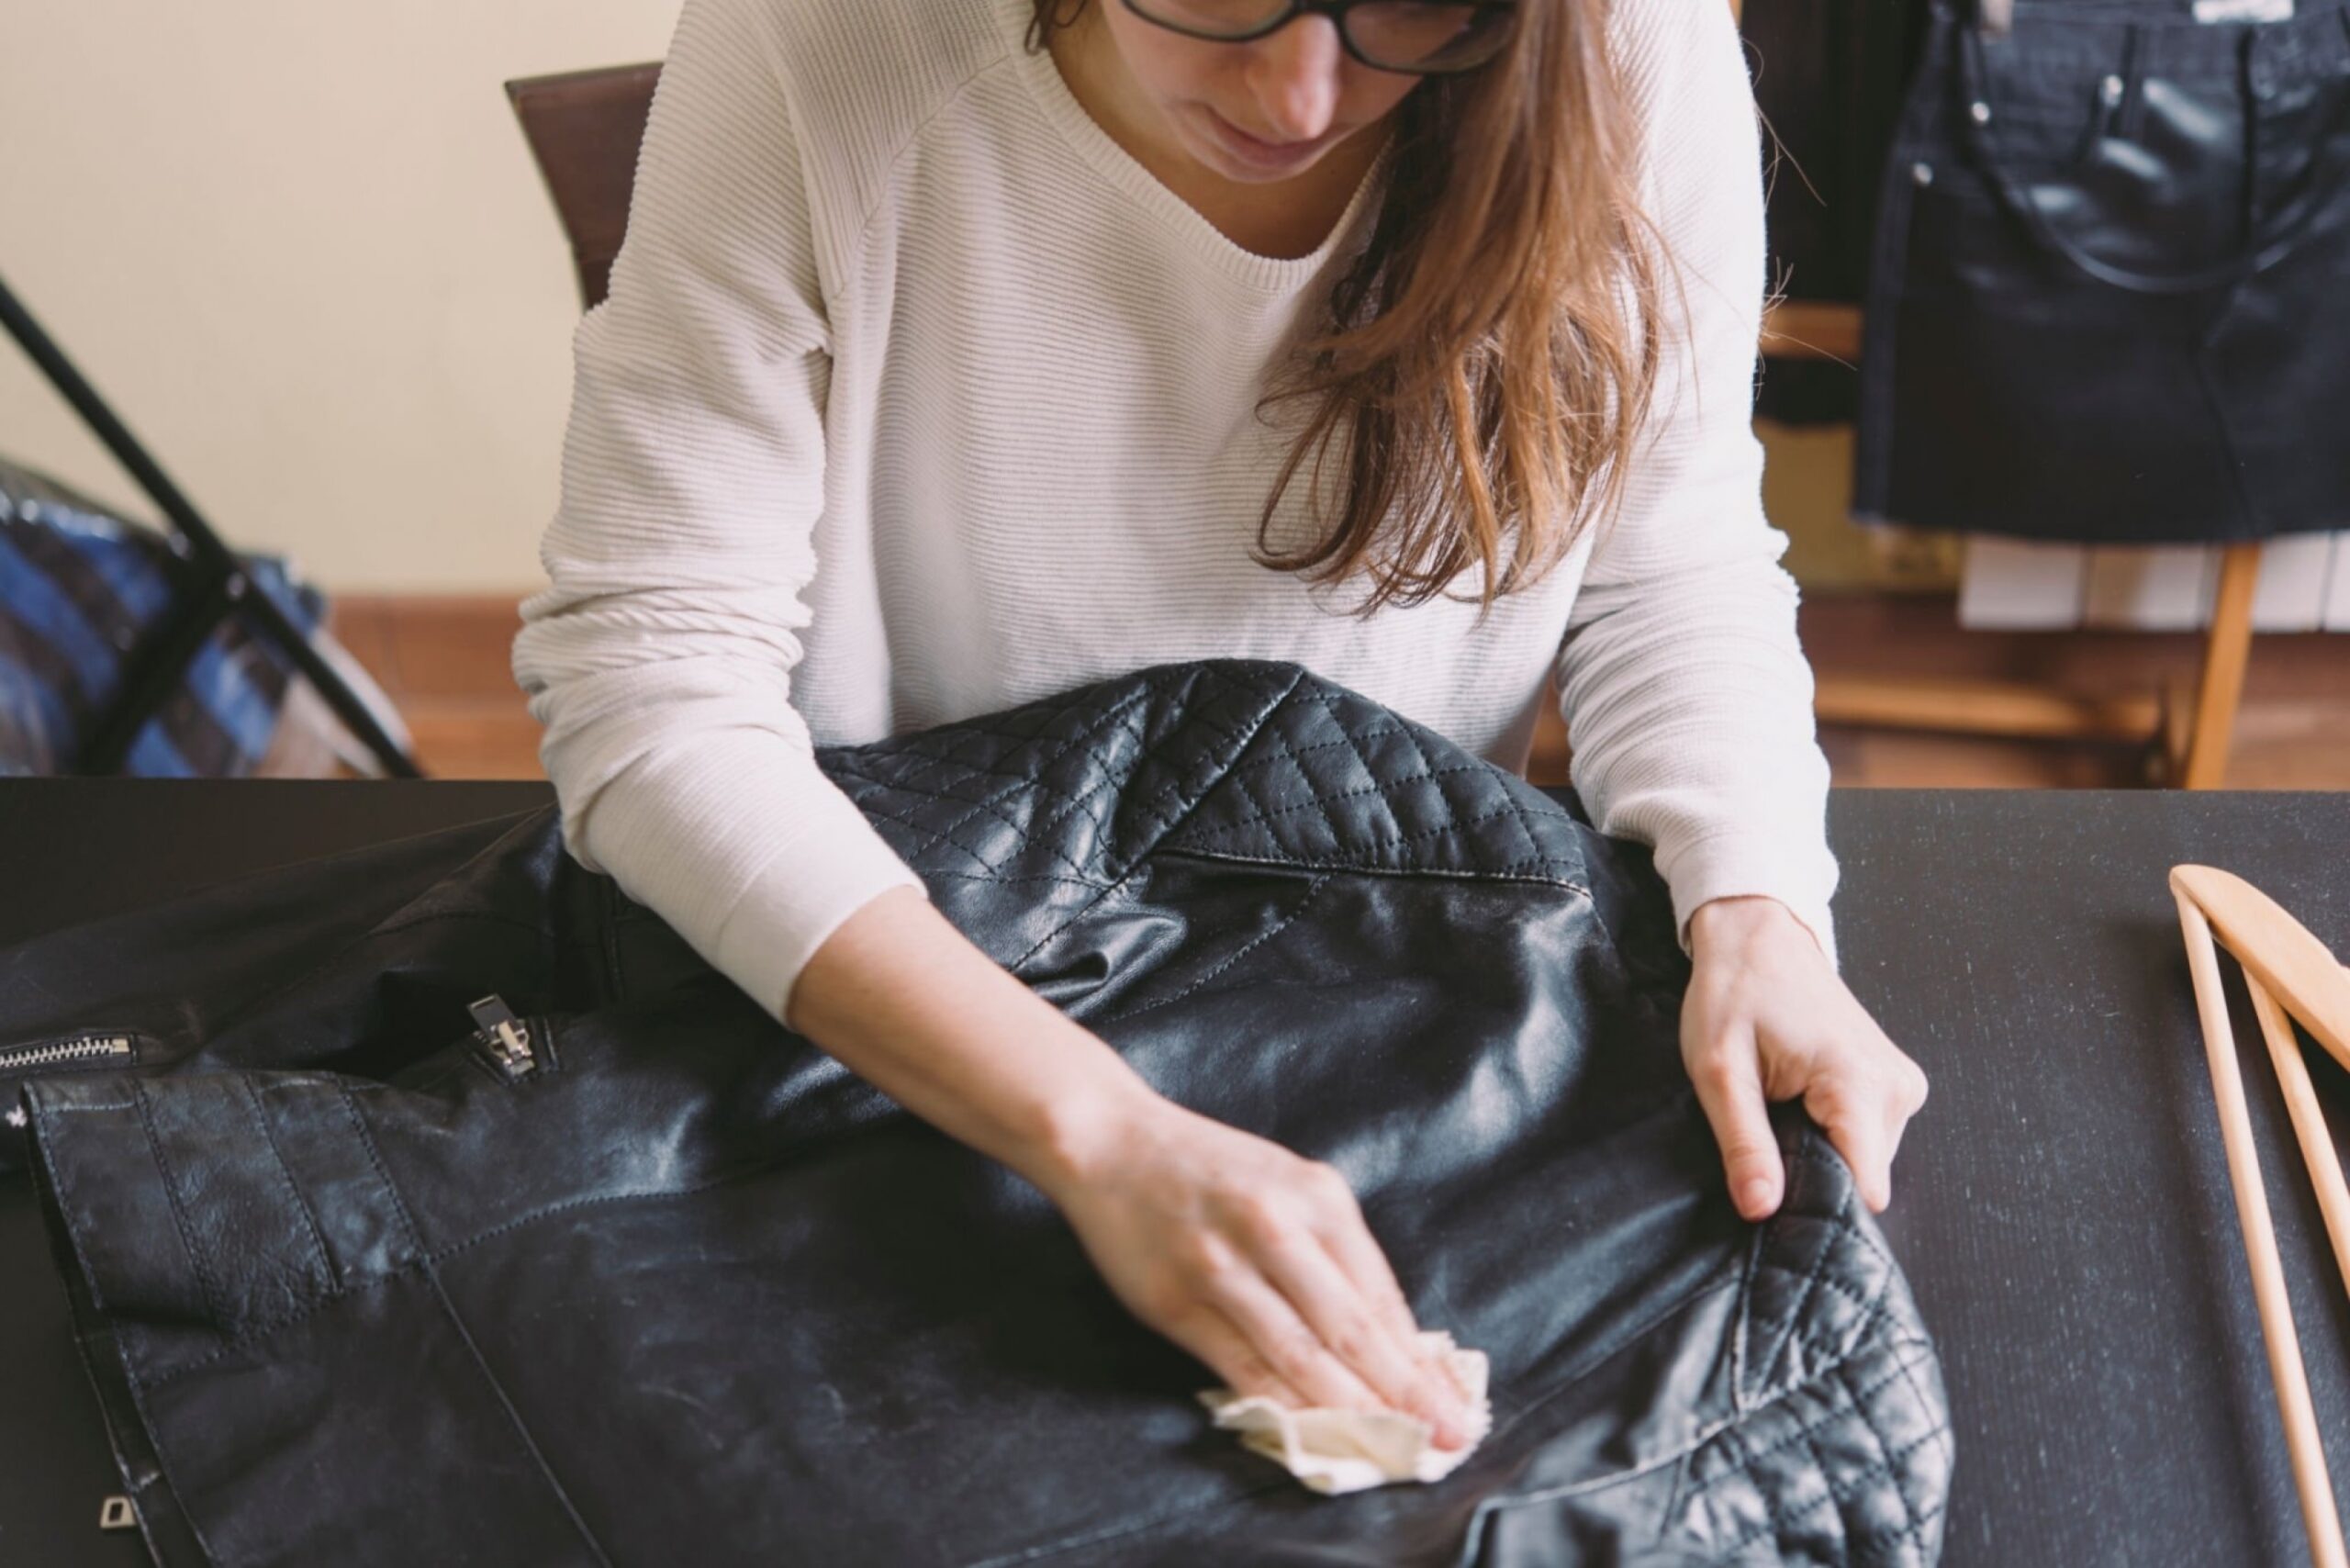
Dried oil stains are much more difficult to get out of clothing, but luckily it is not a completely impossible task. The first thing you’ll have to do to remove the stain is attempt to return the oil stain to a liquid state by using hot water. If that doesn’t work, add a little more oil to help revive and loosen it up.
Many people actually swear by treating oil and grease stains with WD-40. You can do this by spraying a small amount into a bowl and applying it with cotton swabs. Place a towel or microfiber cloth on the other side of the fabric so that the oil stain doesn’t soak through to the back of the clothing item. Once the stain has been treated with the WD-40, soak up the remaining stain using the same method we provided above, and then wash and dry the garment as usual.
Is Hot or Cold Water Better for Removing Stains?
|

 Treating and removing motor oil stains has pretty much the same process as regular oil. Blot away as much of the stain as possible, apply dish soap and baking soda and scrub the mixture with a toothbrush, rinse and soak in hot water, and then run through the washing machine.
 If you’re out and can’t remove your jeans, use a bit of salt or artificial sweeteners on the stain to soak up as much of the offending oil until you can give your jeans a deep clean at home using the method we provided above.


|
|
You may not need every single one of these products and tools, or you may need them all and more. Every home is different and won’t be cleaned in the same way, which means that there is no right or wrong way to fully clean your home. However you clean your home is up to you, but we like to give the best advice we can when it comes to those who may be newer at keeping up with cleaning and upkeep around the house.
1. Plan Ahead
Before you jump into your spring cleaning, take a moment to wander your home and make a plan. Whether that means customizing a checklist for each room or sitting down and delegating tasks to everyone in the home, going in with a rough idea of what needs to be done can make a difference. If you live with multiple people, having a plan can keep everyone focused and on task, and can even make the cleaning process fun if you turn it into a game of sorts. Not only will this help you stay on task, it can help you to stay motivated as you cross more and more of your cleaning task list.
2. Start Simple
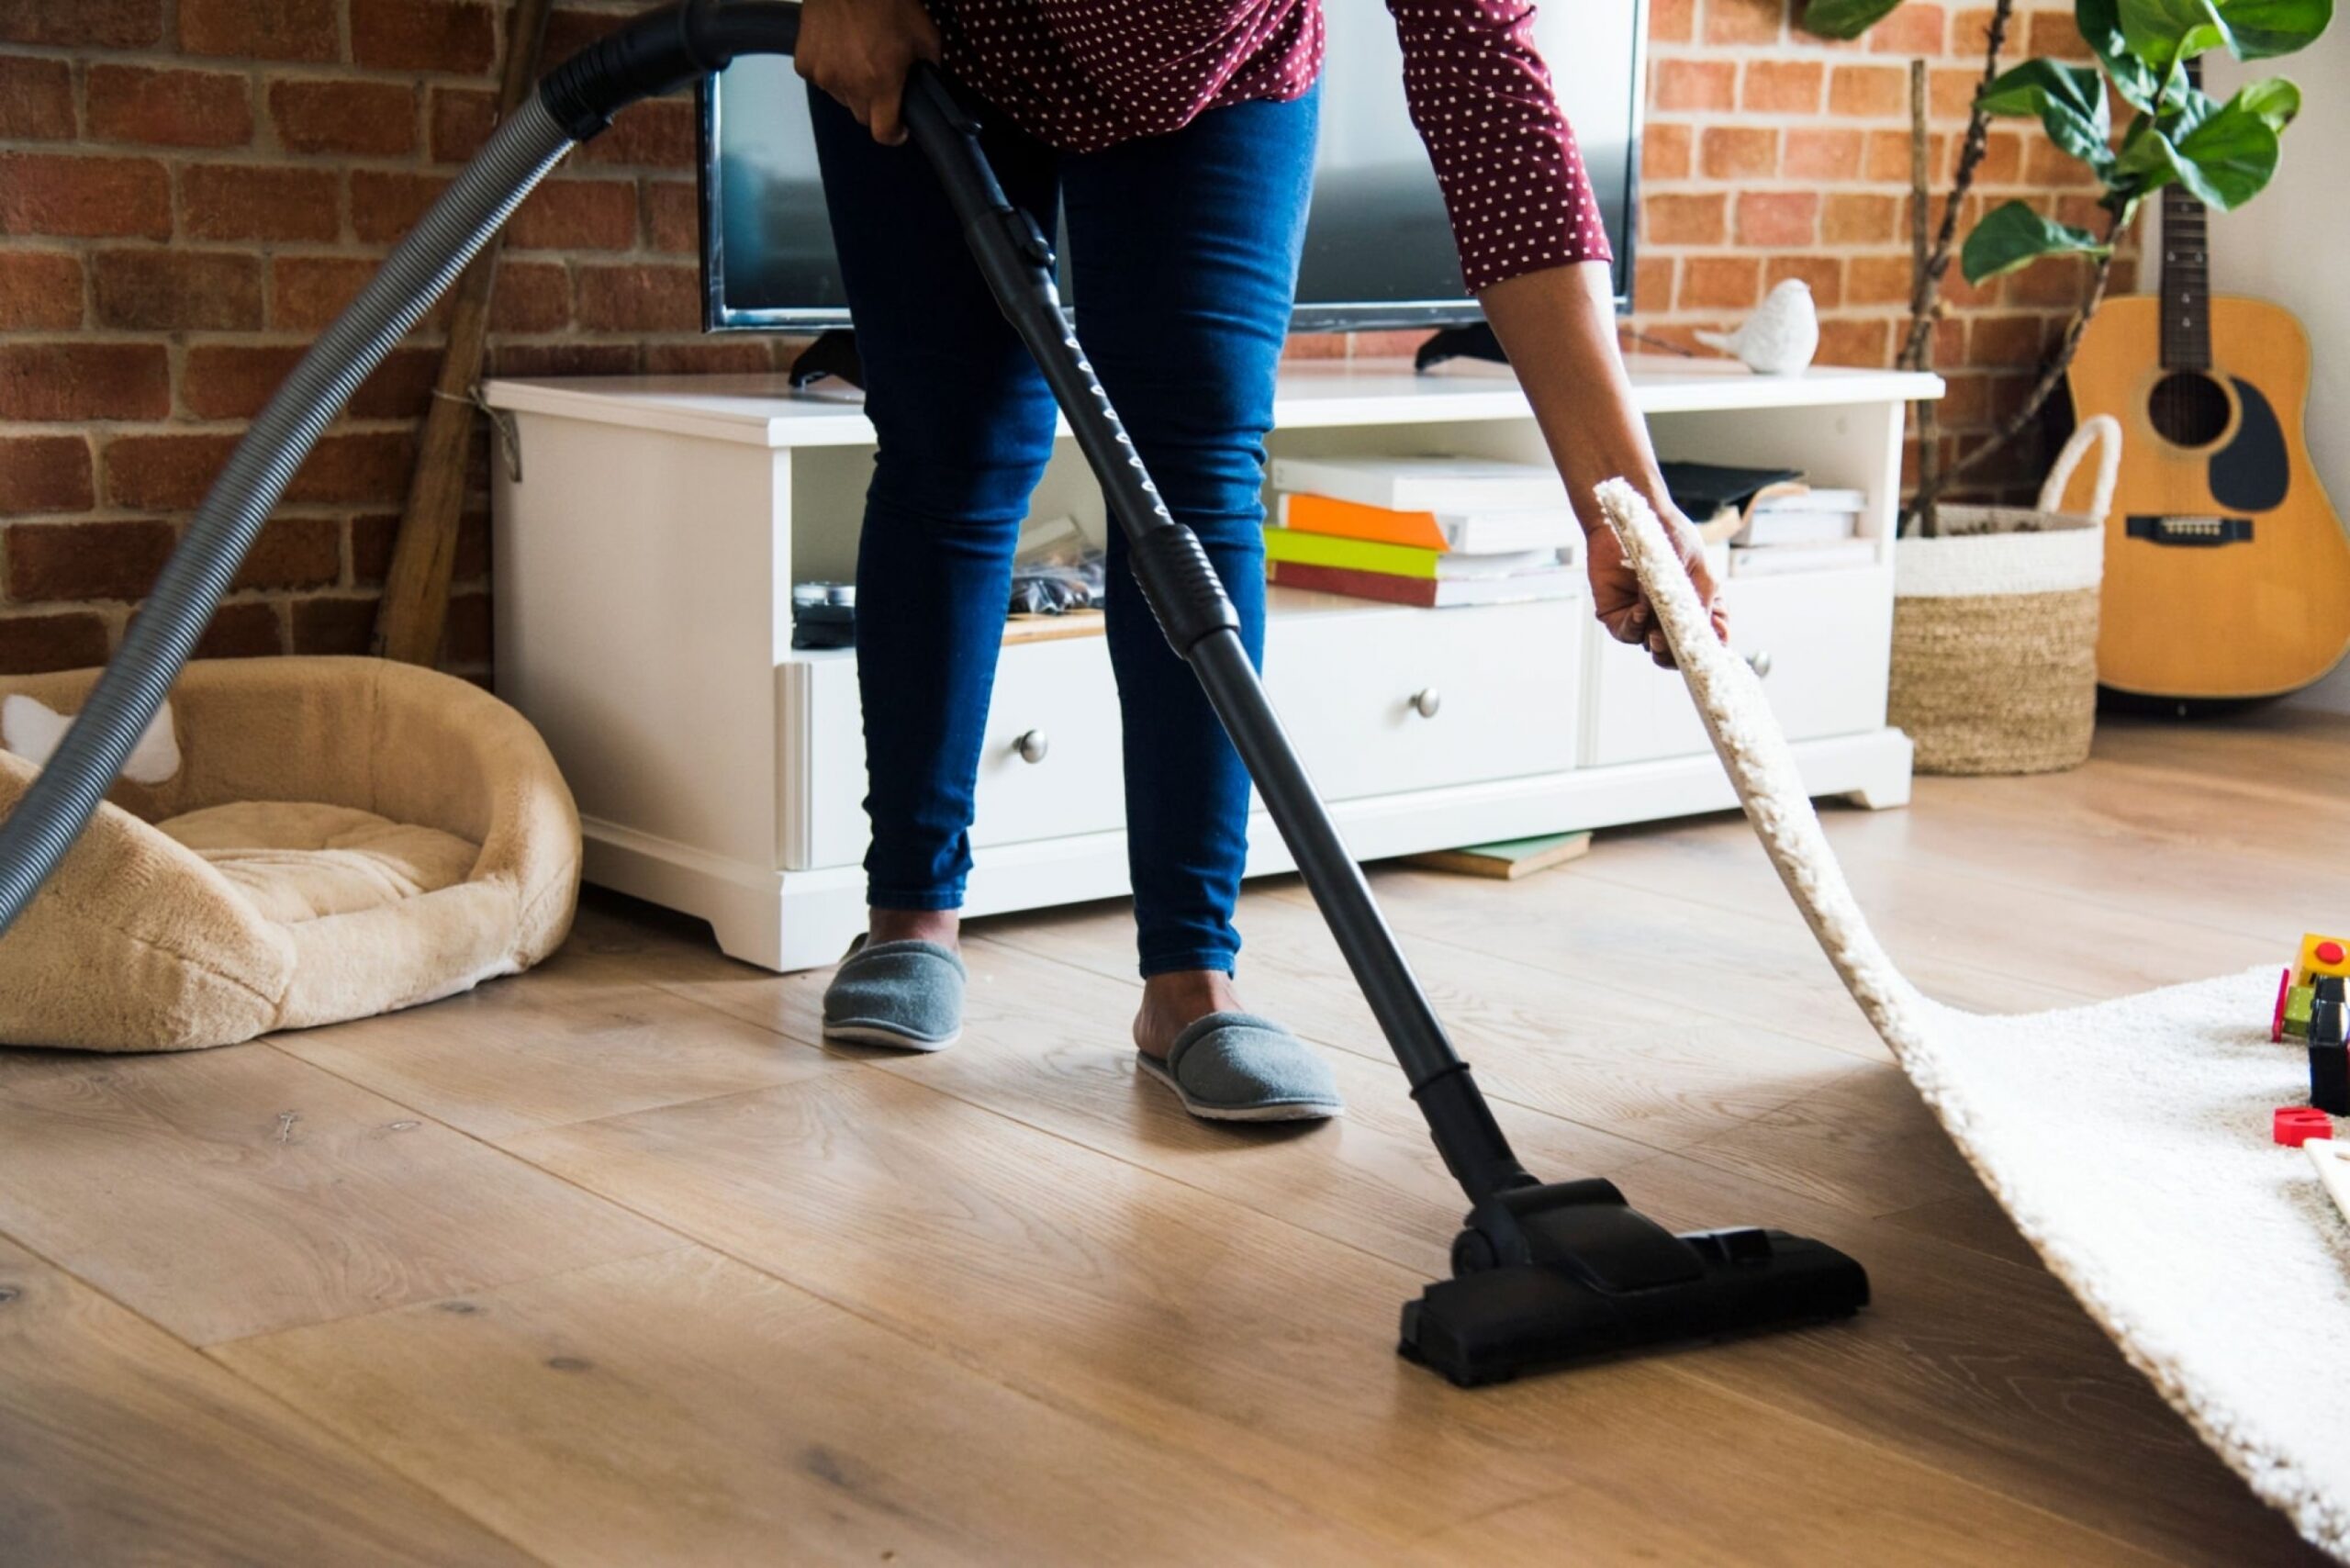
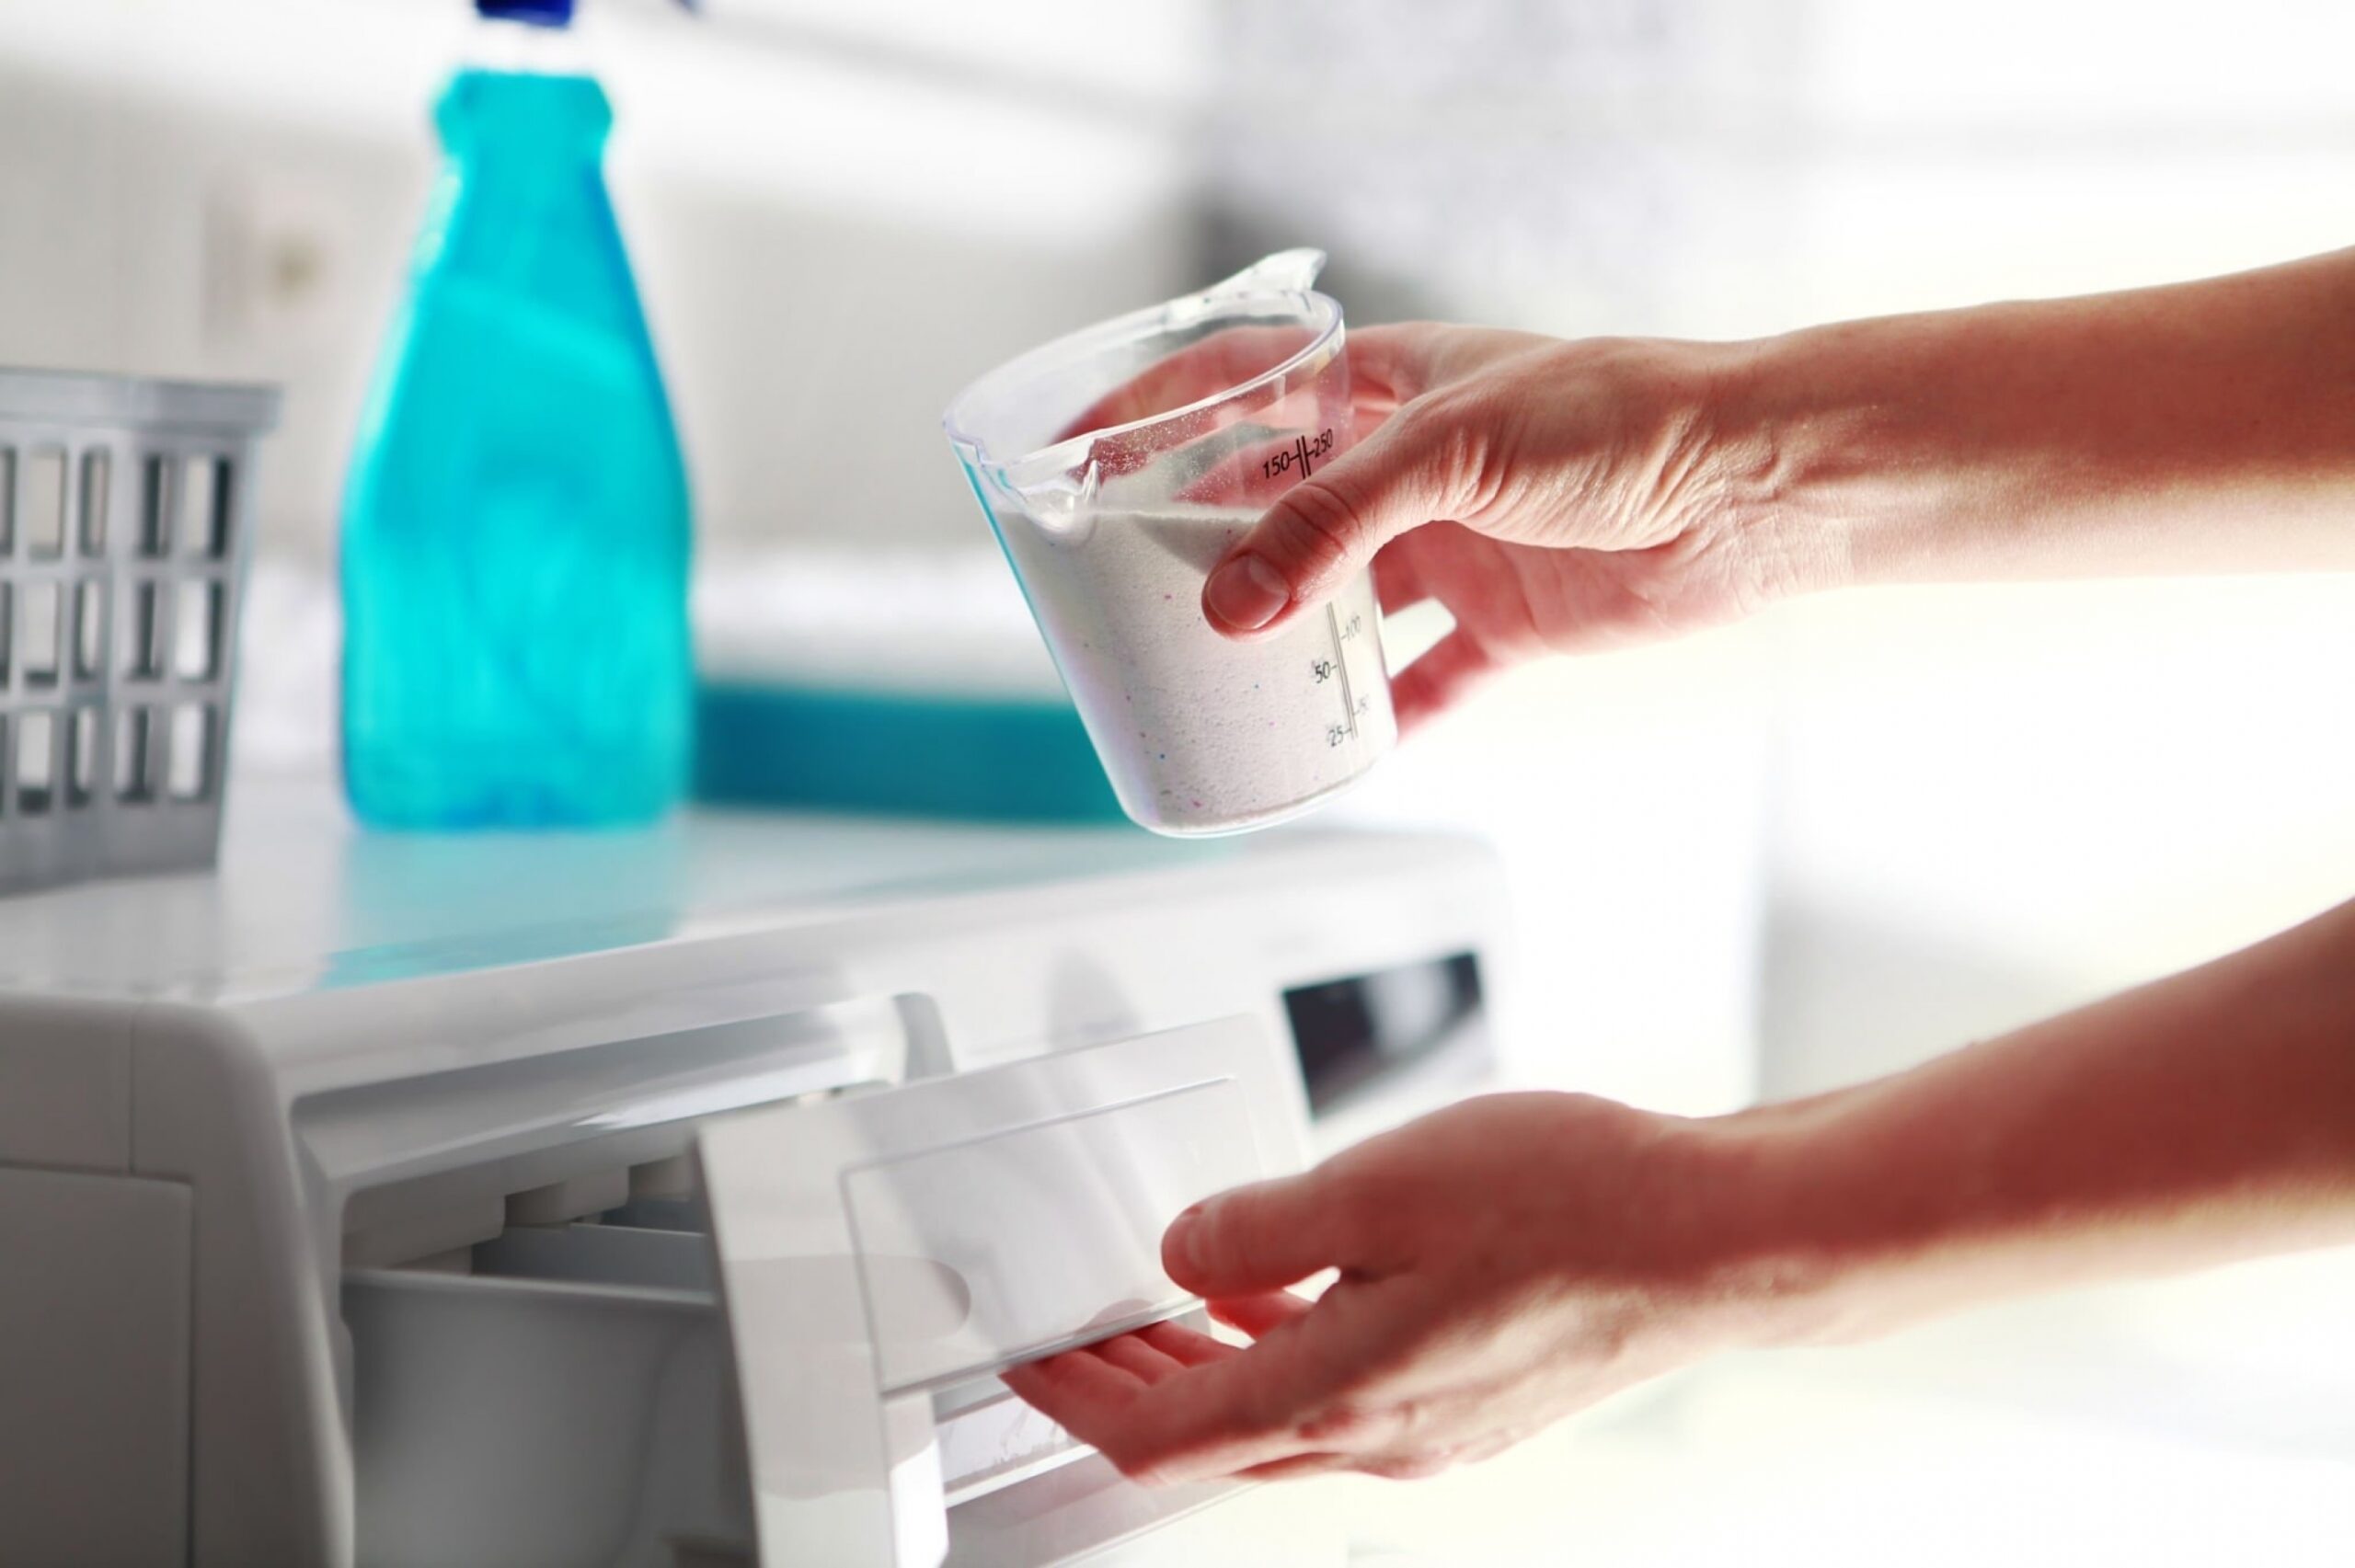
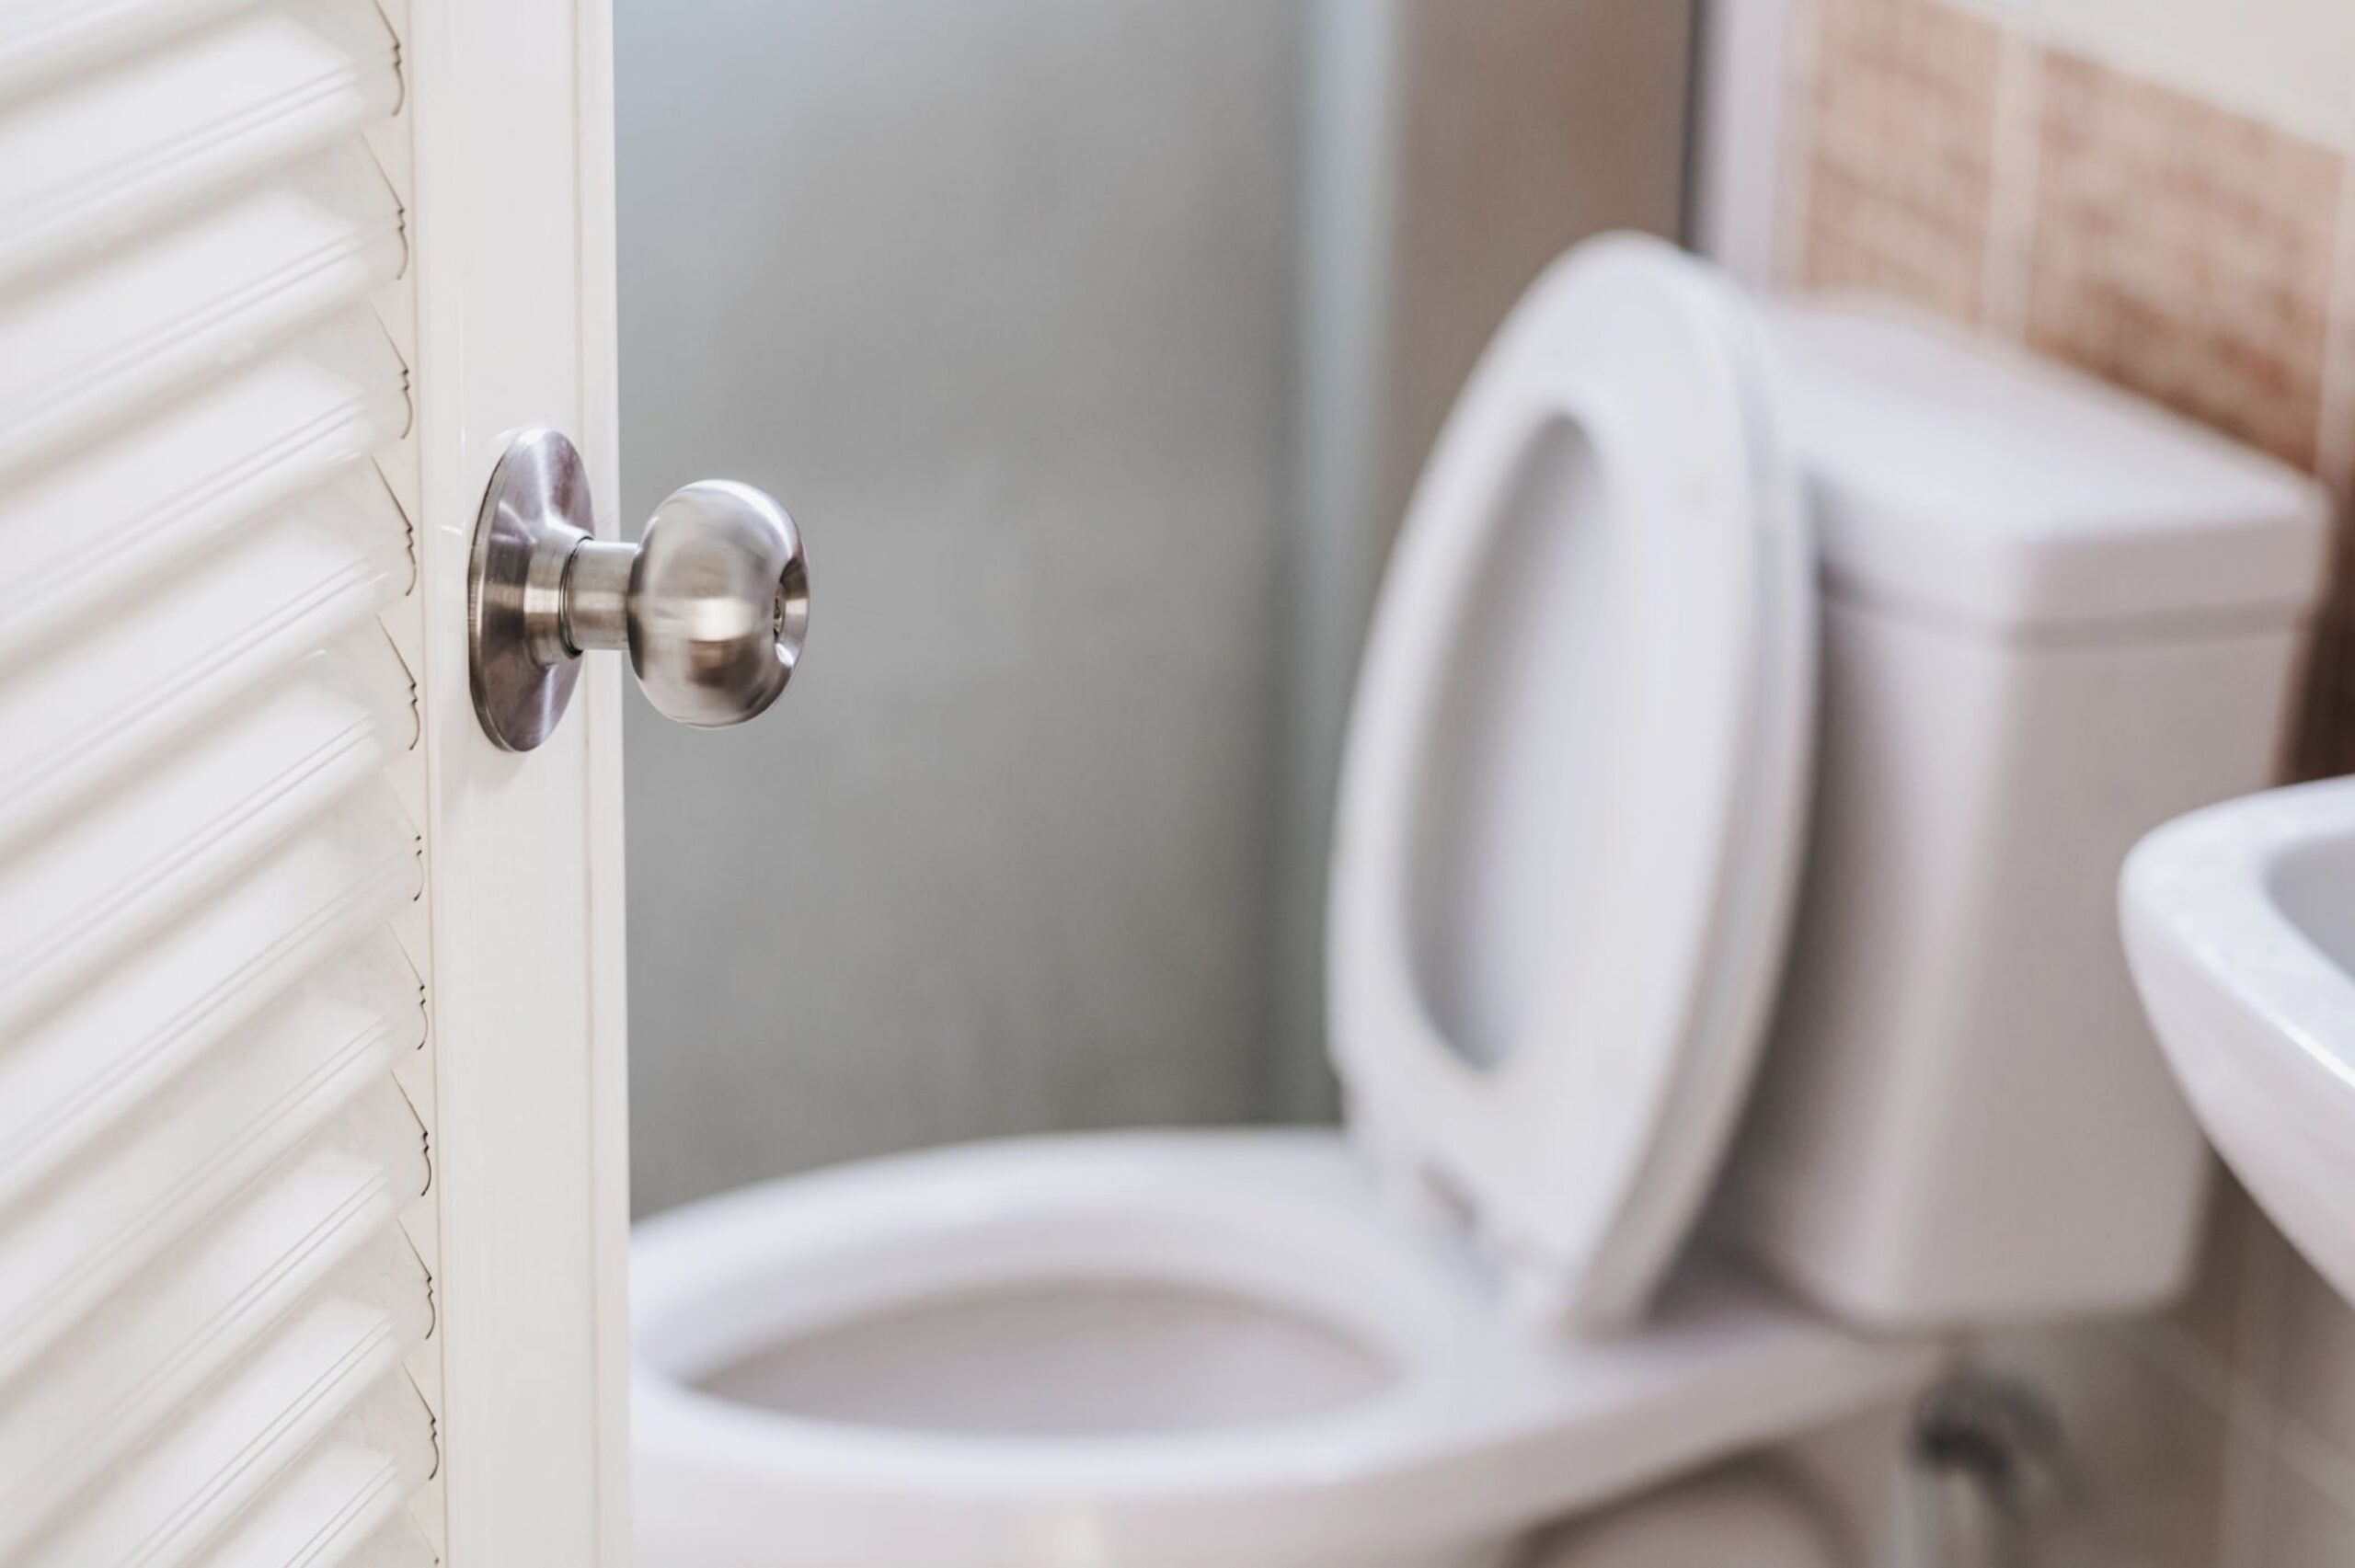
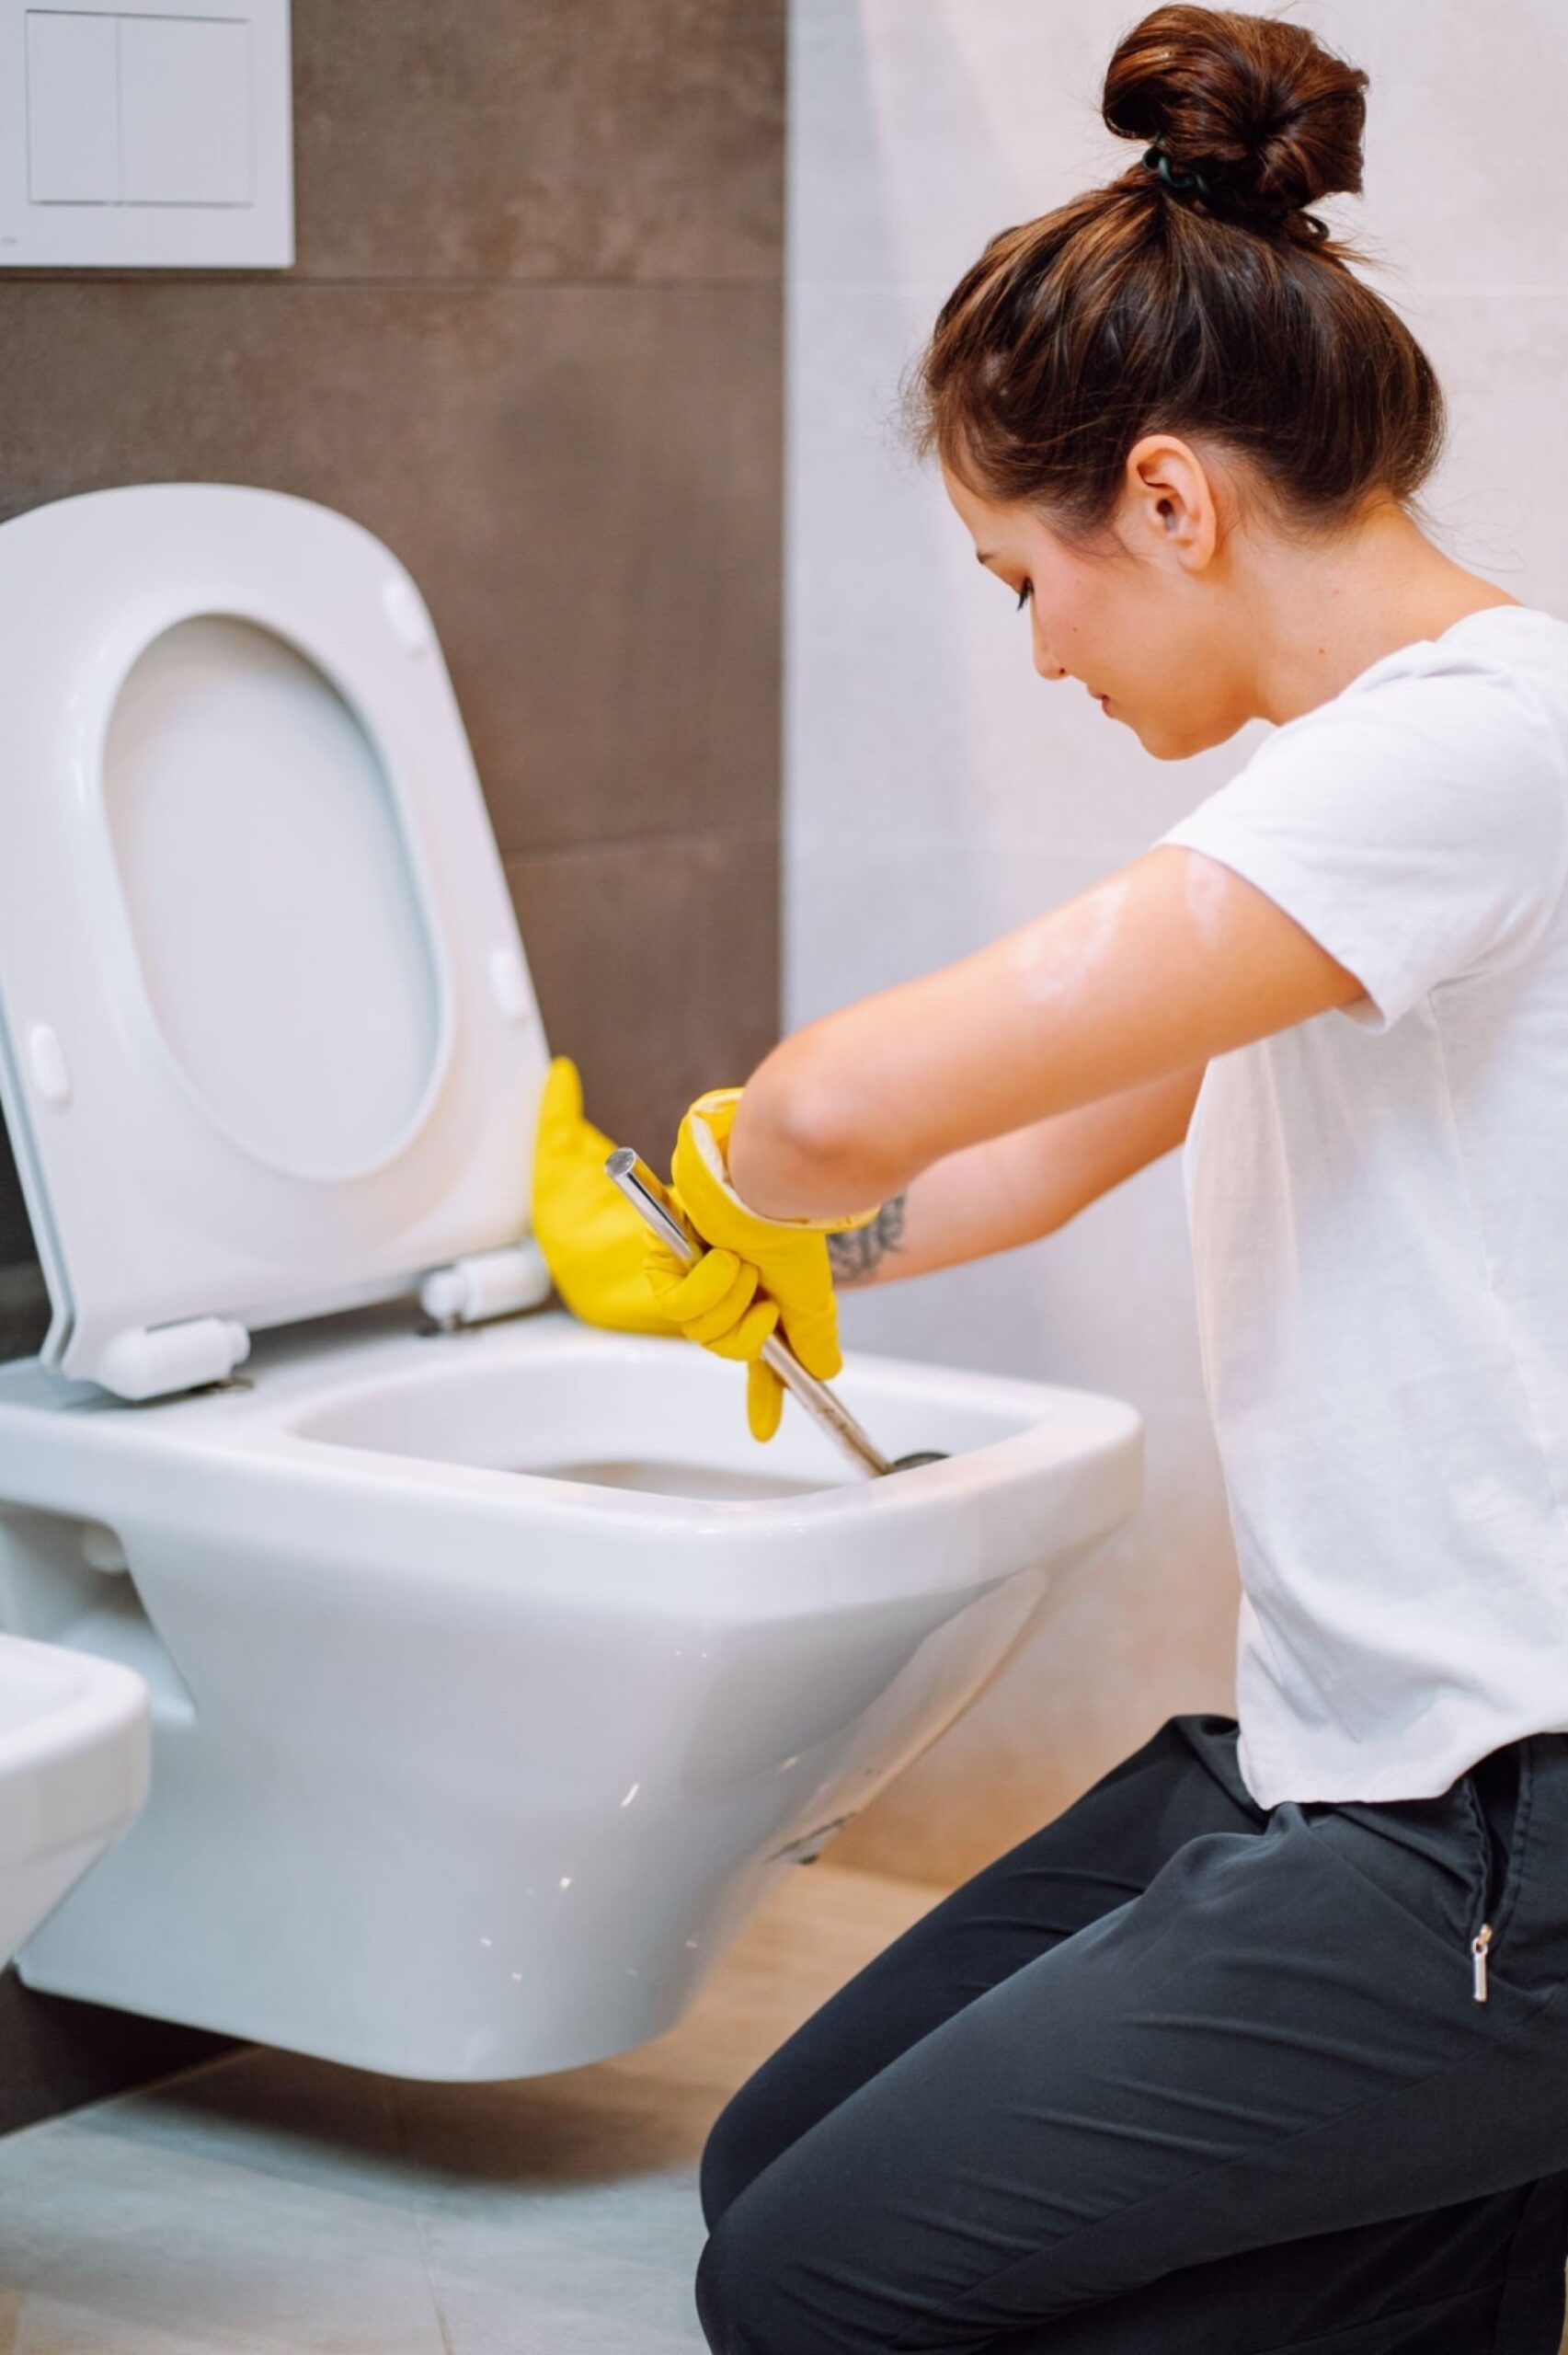
We suggest starting the process within the kitchen or the bathrooms, but whichever room of your home you start cleaning is up to you. It is a good idea to also start by tackling the more obvious tasks around the home as a whole before focusing on the larger and more tedious projects. This can be dusting, vacuuming, sweeping, picking up laundry, wiping up crumbs and debris, or staring a load of laundry to be switched out for another round later. Starting with the simplest and most obvious tasks will make more of the deeper cleaning projects more identifiable and accessible.
3 .Declutter as You Clean
Spring cleaning is an excellent time to do some extensive and ruthless decluttering. Each room can contain numerous expired and perishable items and clothing that no longer fits or is stained and damaged. Now is the time to go through your drawers, closets, pantry, and refrigerator to make sure anything that no longer serves a purpose gets the boot. There’s no better way to bring in warmer weather than with a clear space.
4. Work Top to Bottom
When cleaning, the best rule of thumb is to clean from high to low, that means starting upstairs and working down as well as starting in each room by dusting from ceiling to floor. By cleaning from top to bottom, you are able to ensure that no dust is left on any surface in the room. This is also a great way to save time and effort during the cleaning process and work efficiently.
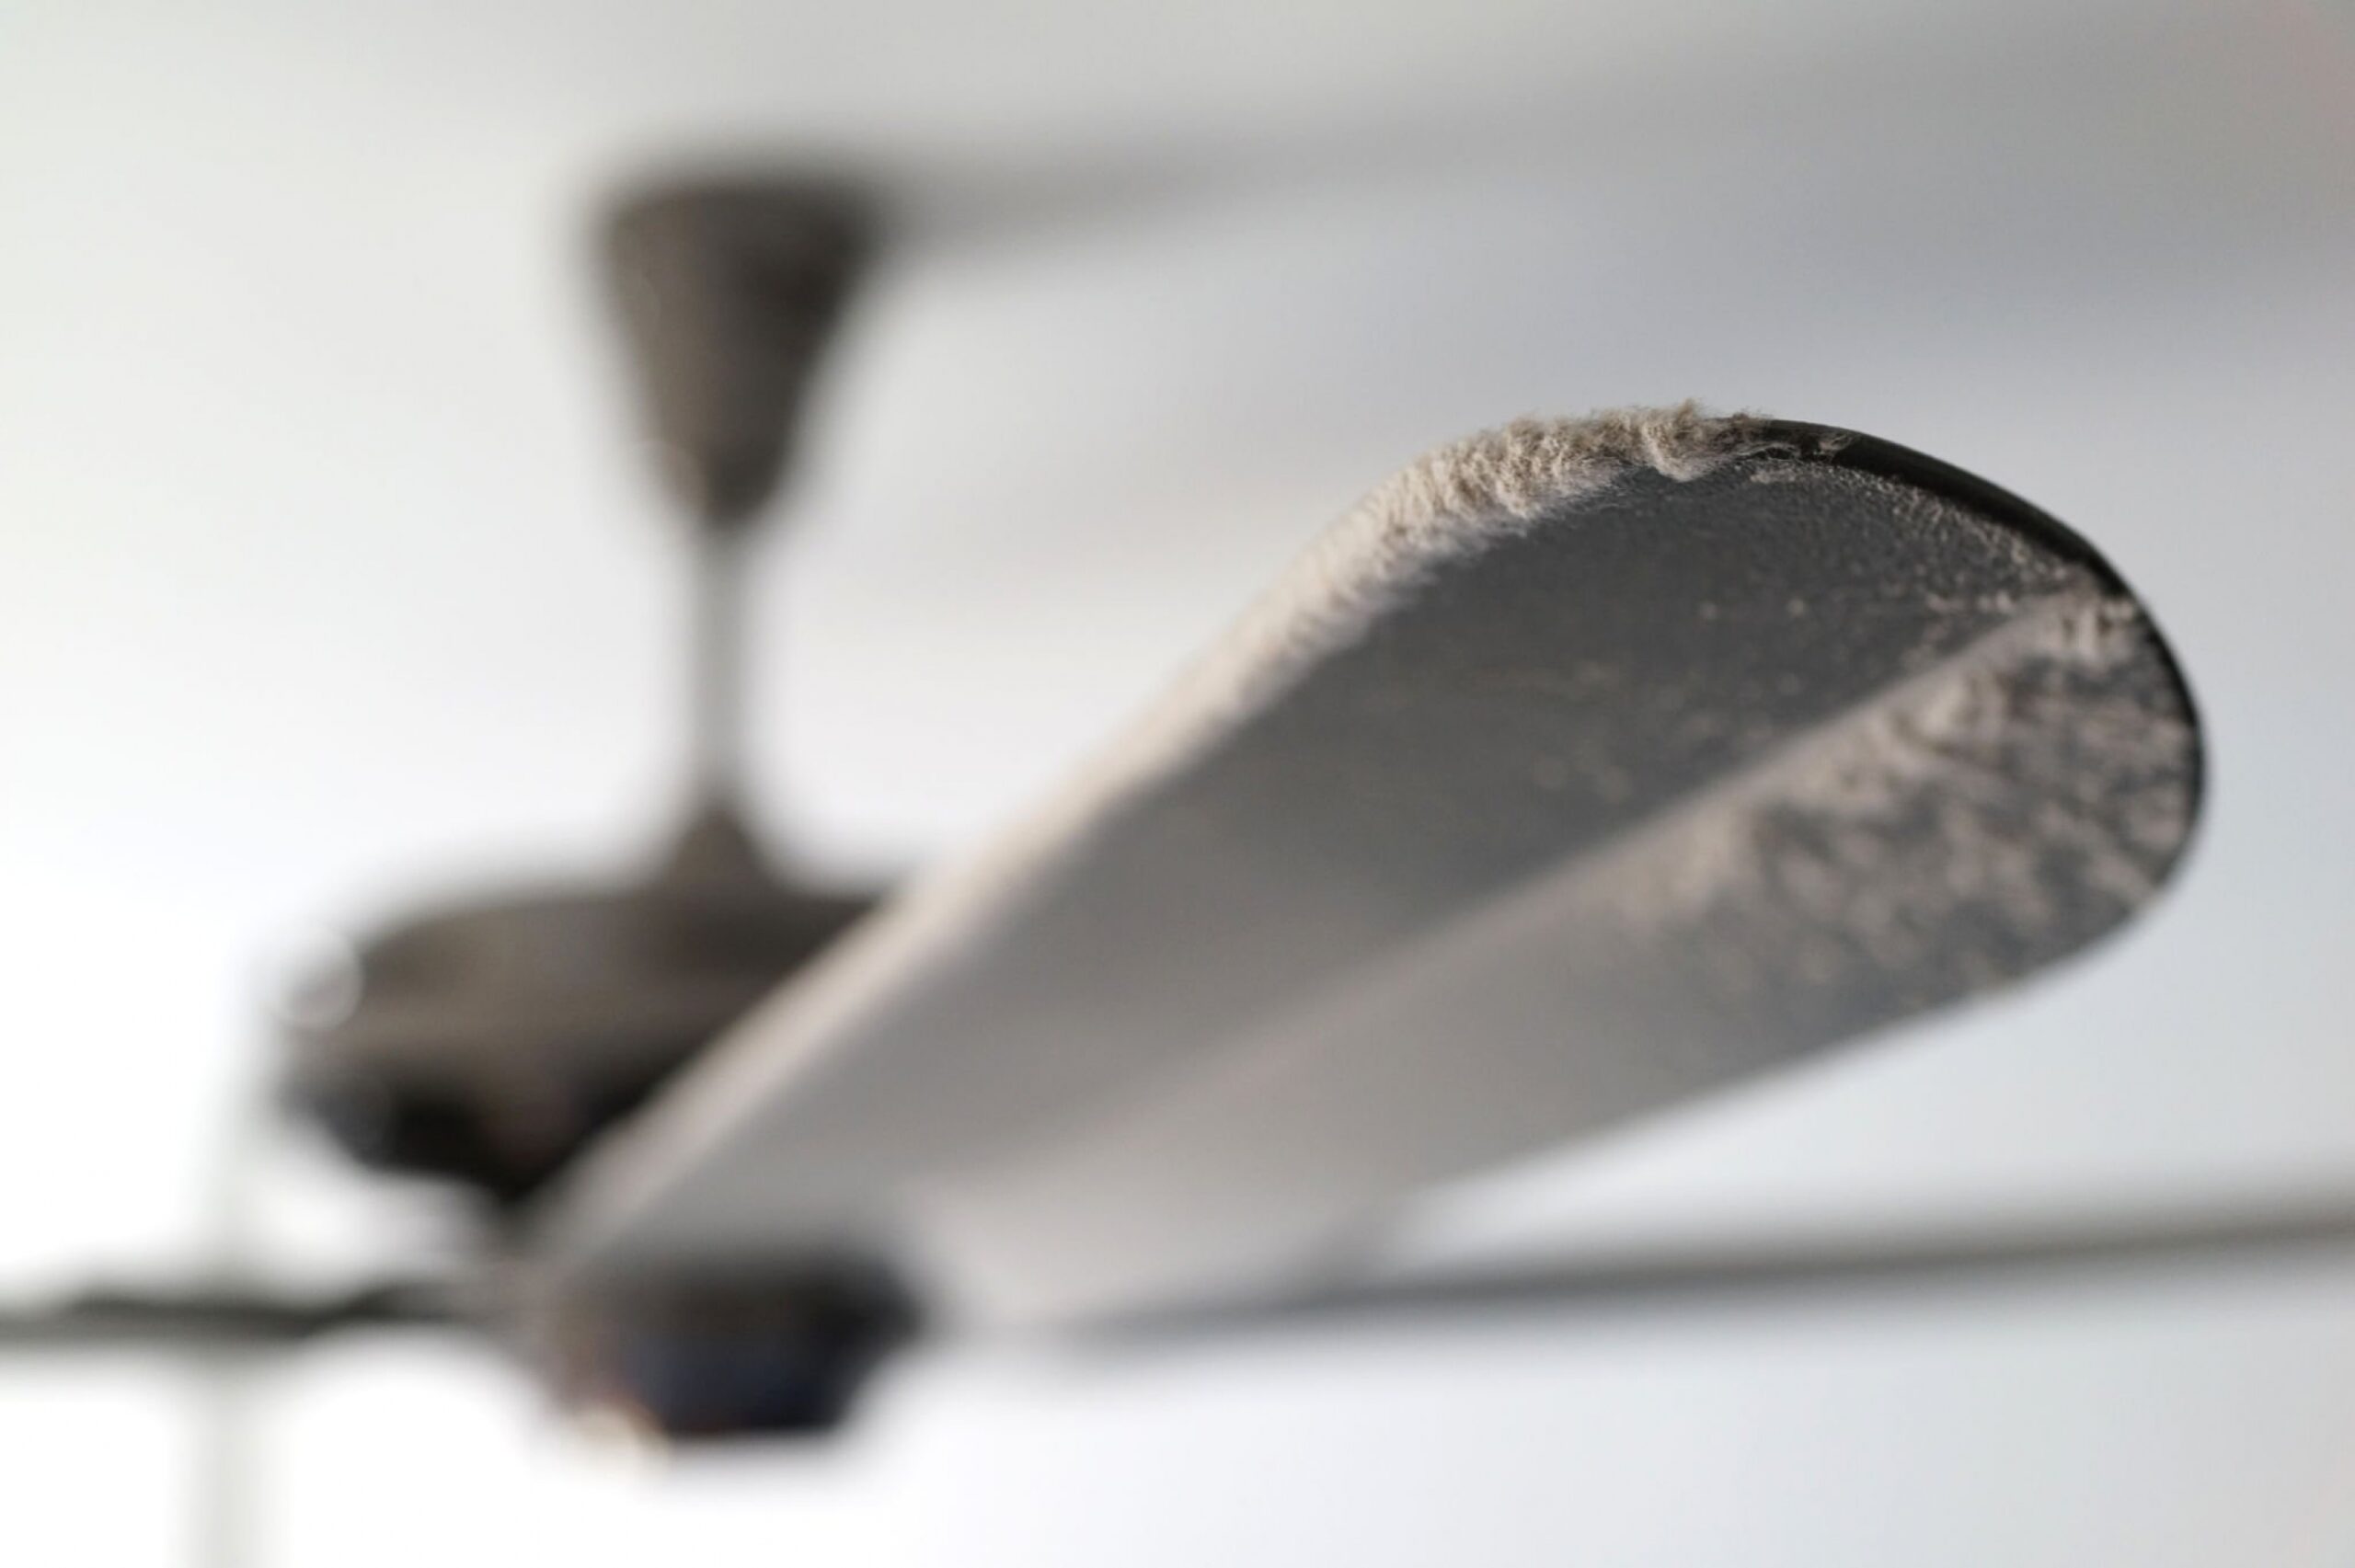
5. Bust Through the Dust
One of the key tasks in every room is dusting. The best way to control the buildup of dust and other allergens in your home is with regular cleaning, but sometimes it can be left to accumulate. Now is the time to be thorough and detail-oriented in each room to make sure every surface is clean and clear of dust.
6. Freshen Up the Fridge

Your refrigerator is in constant use and can very easily become cluttered with leftovers and expired foods. Spring cleaning is the perfect time to deep clean and organize your fridge and freezer. Take an hour or so to empty things out and really scrub, deodorize, and and sanitize each self and drawer. It’s important to keep the spaces in which food is kept clean and clear of bacteria so that you and your family is safe and healthy.
7. Clear the Junk Drawers
Every home has a junk drawer, a black hole that seems to contain the most random assortment of items from around the house. Sometimes junk drawers can become junk rooms, and that’s okay. Now is the best time to tackle those problematic spaces head on by emptying them out and making sure everything is returned to its proper place in your home, thrown out, and sold or donated. Show that junk drawer or room who’s boss!
8. Don’t Forget the Details
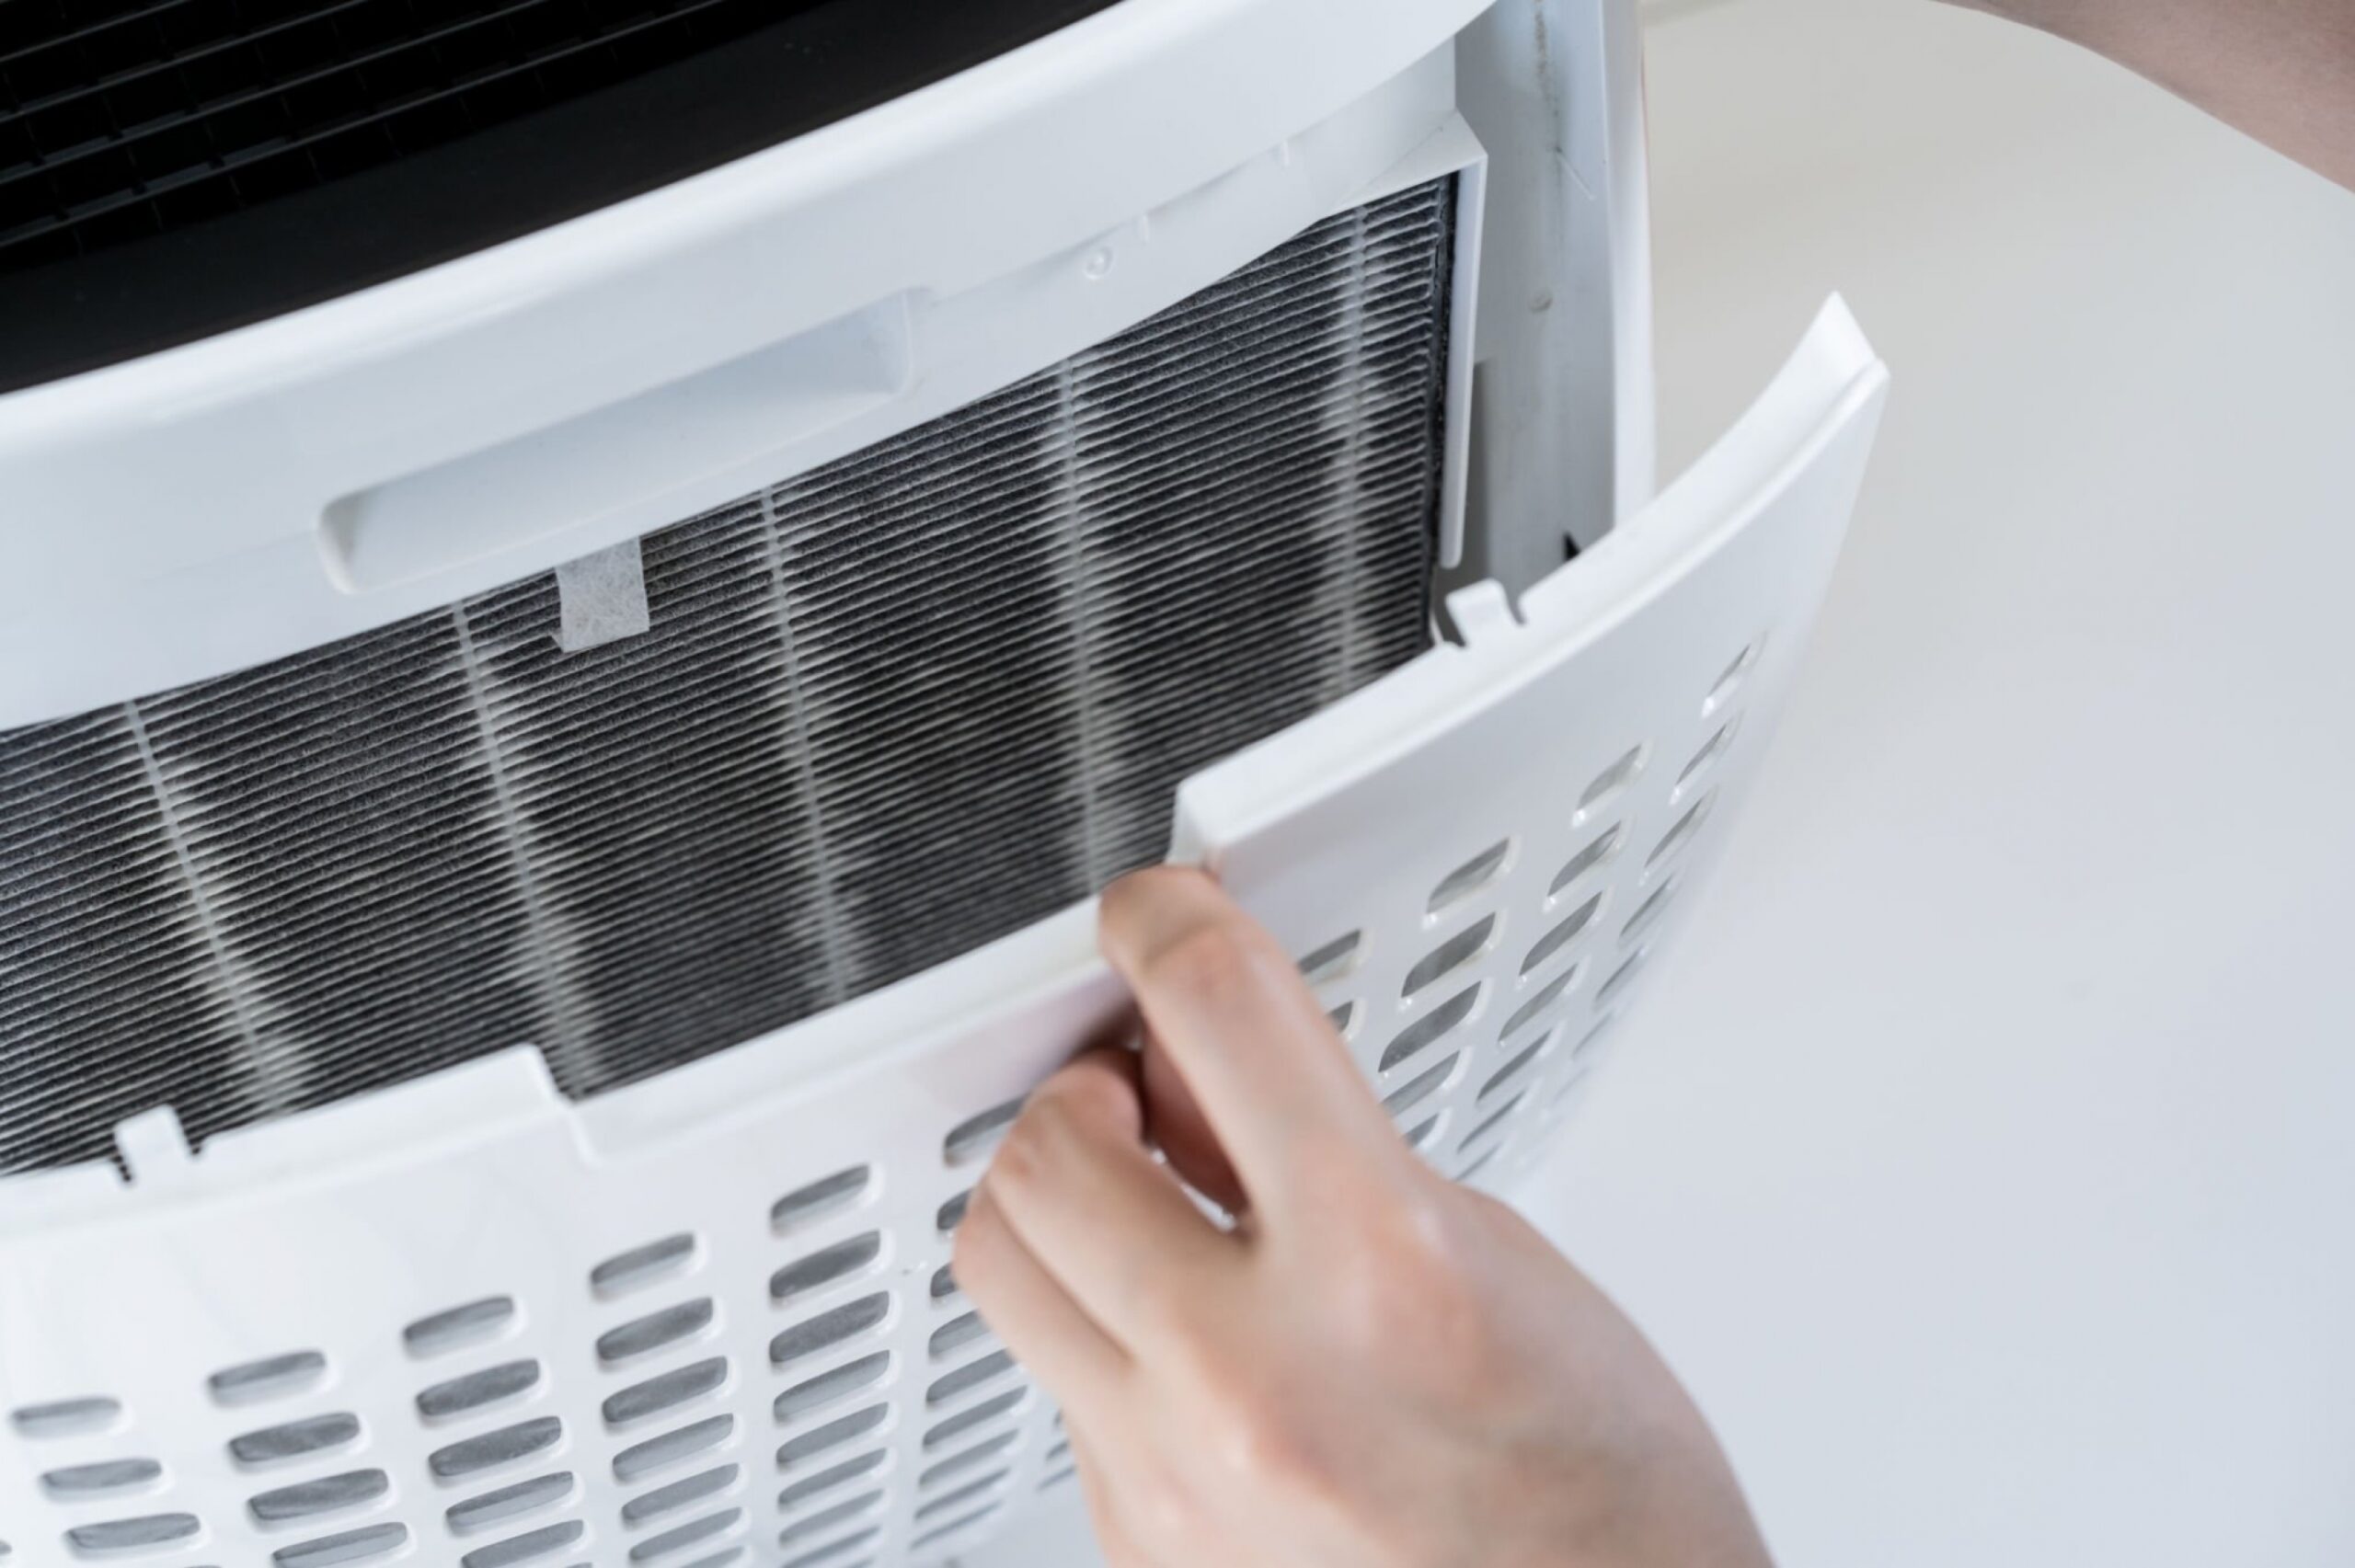
Once you’ve cleared and cleaned the surfaces and appliances around the house, it would be a good idea to check over the more tedious cleaning tasks. This can include:
|
|
9. Take Time to Reorganize
While you’re taking time to be thorough and ruthless in your spring cleaning and decluttering, you can also take this time to reorganize. Whether this means investing in a more functional system within your closets and pantry or just sorting items and clothing in a more efficient way, take this as an opportunity! There is no better time to fully upgrade your home for a more efficient life.
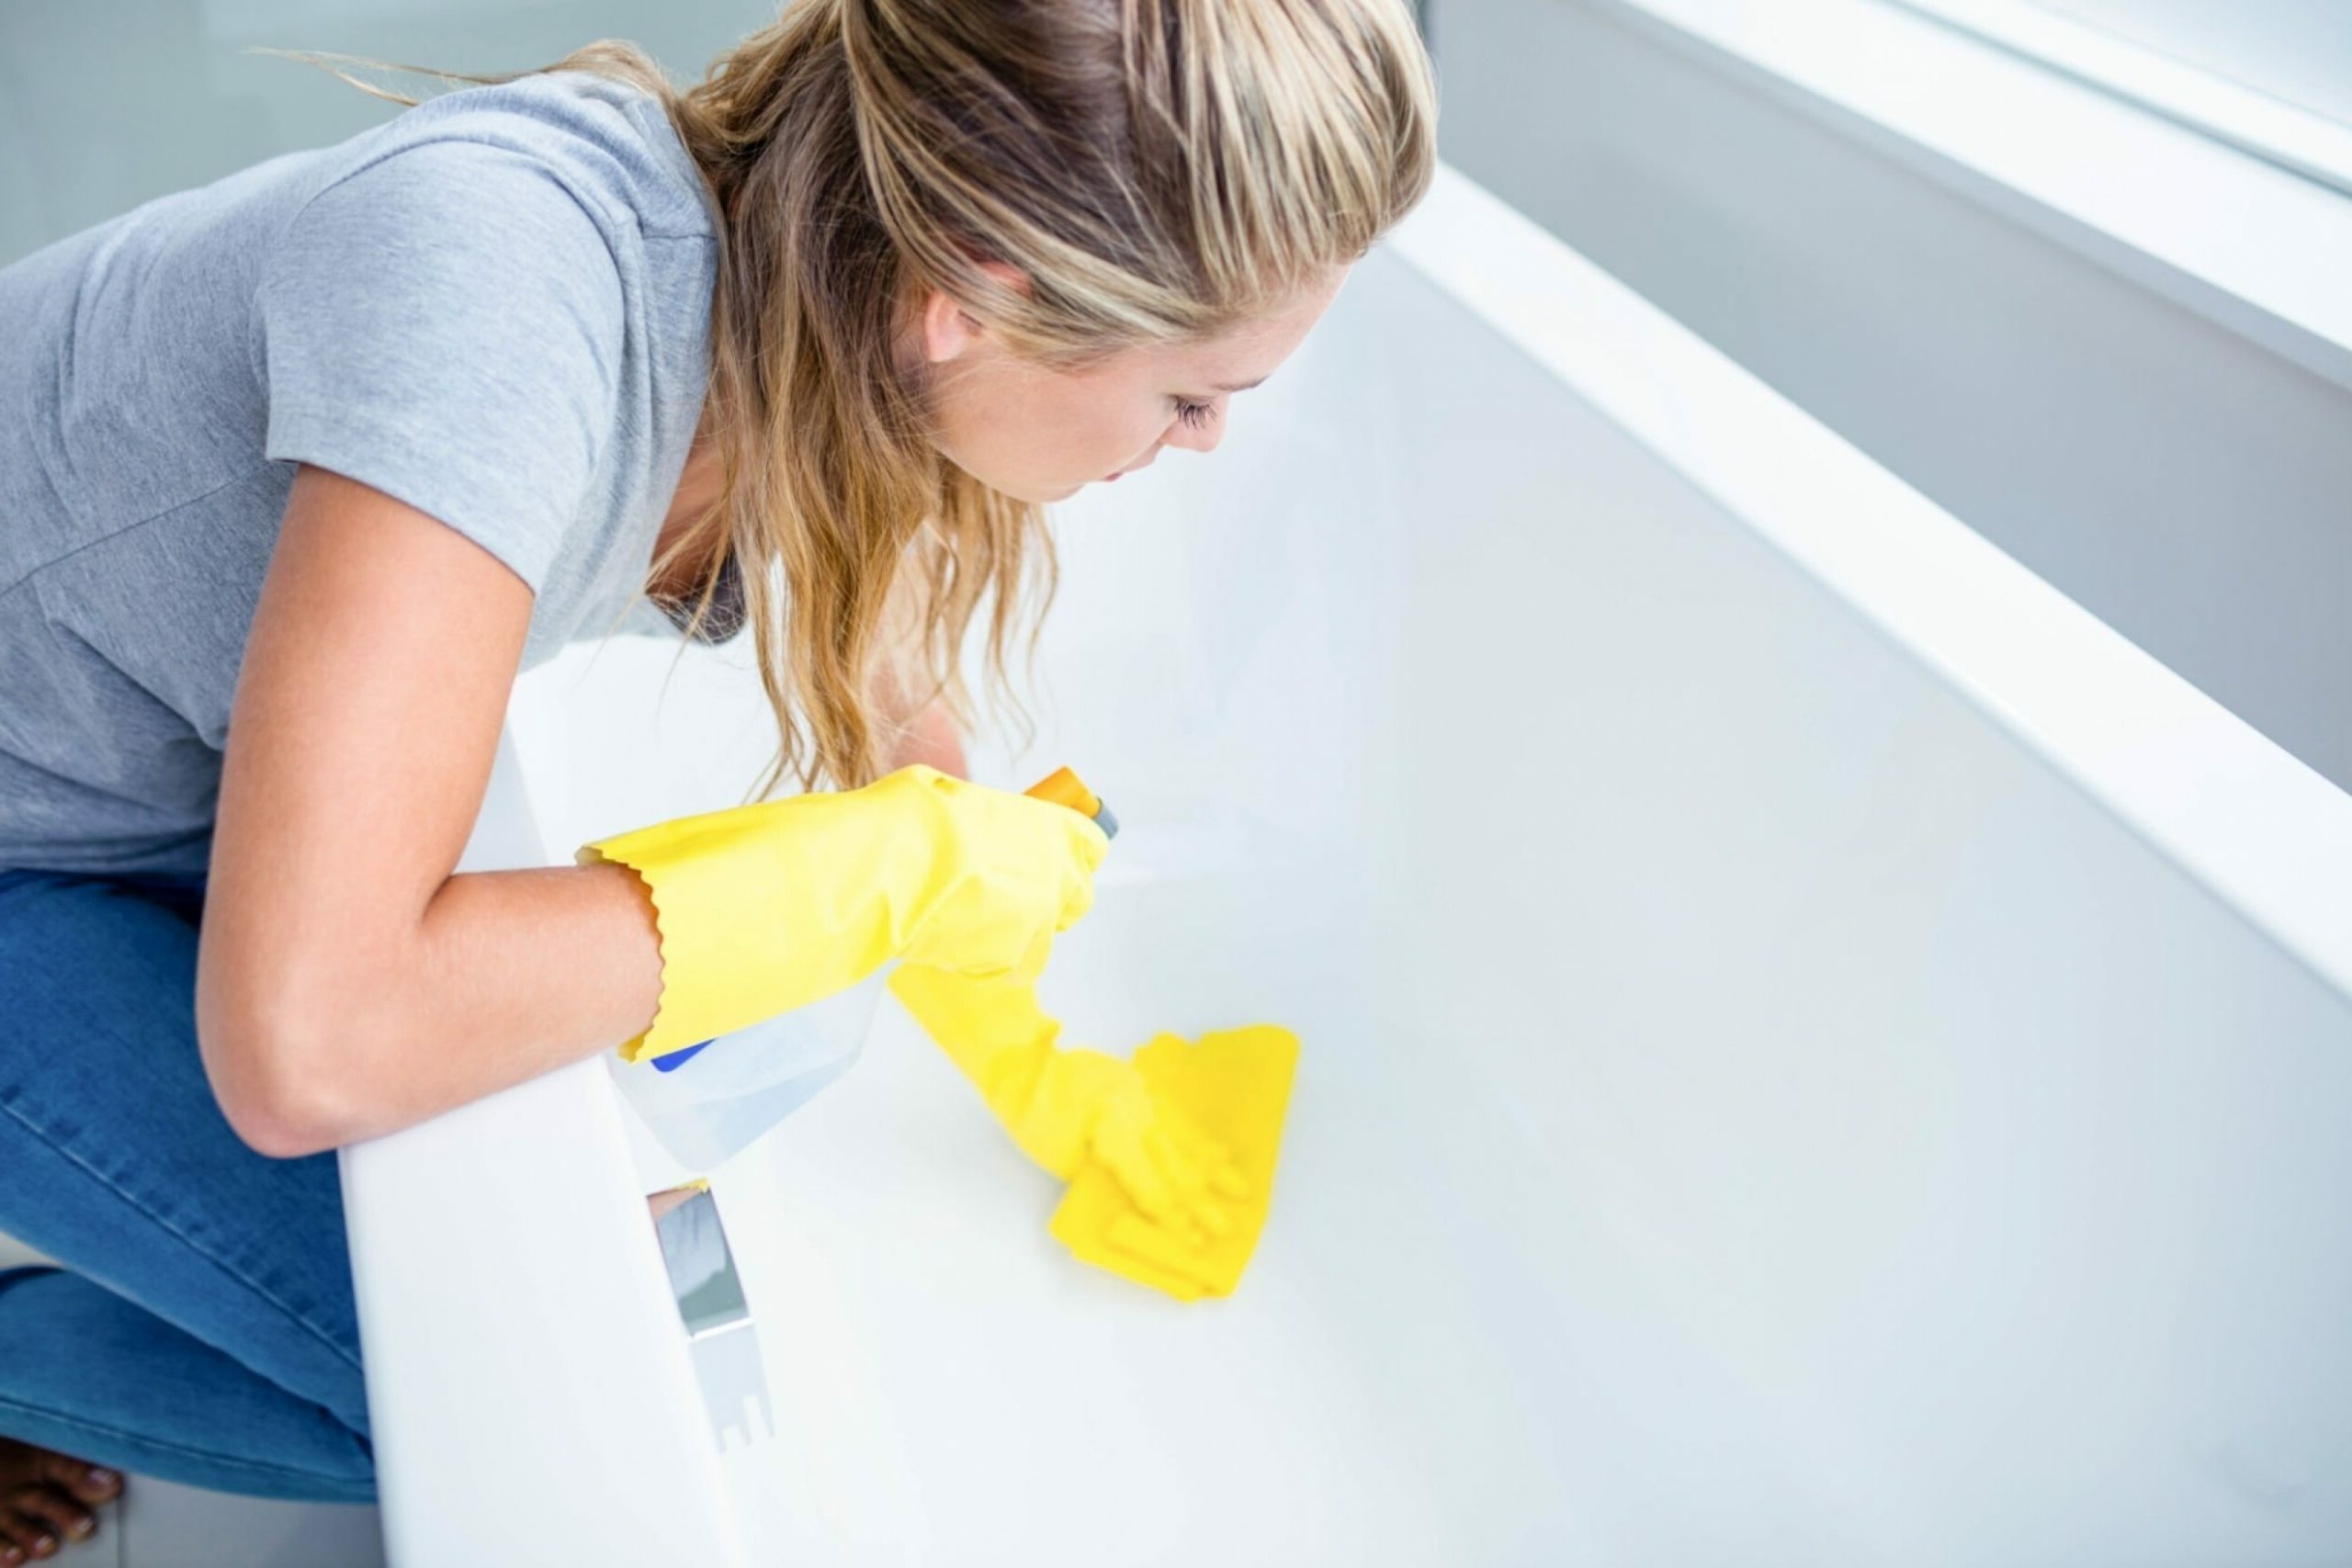
10. Disinfect Deeper Than Ever
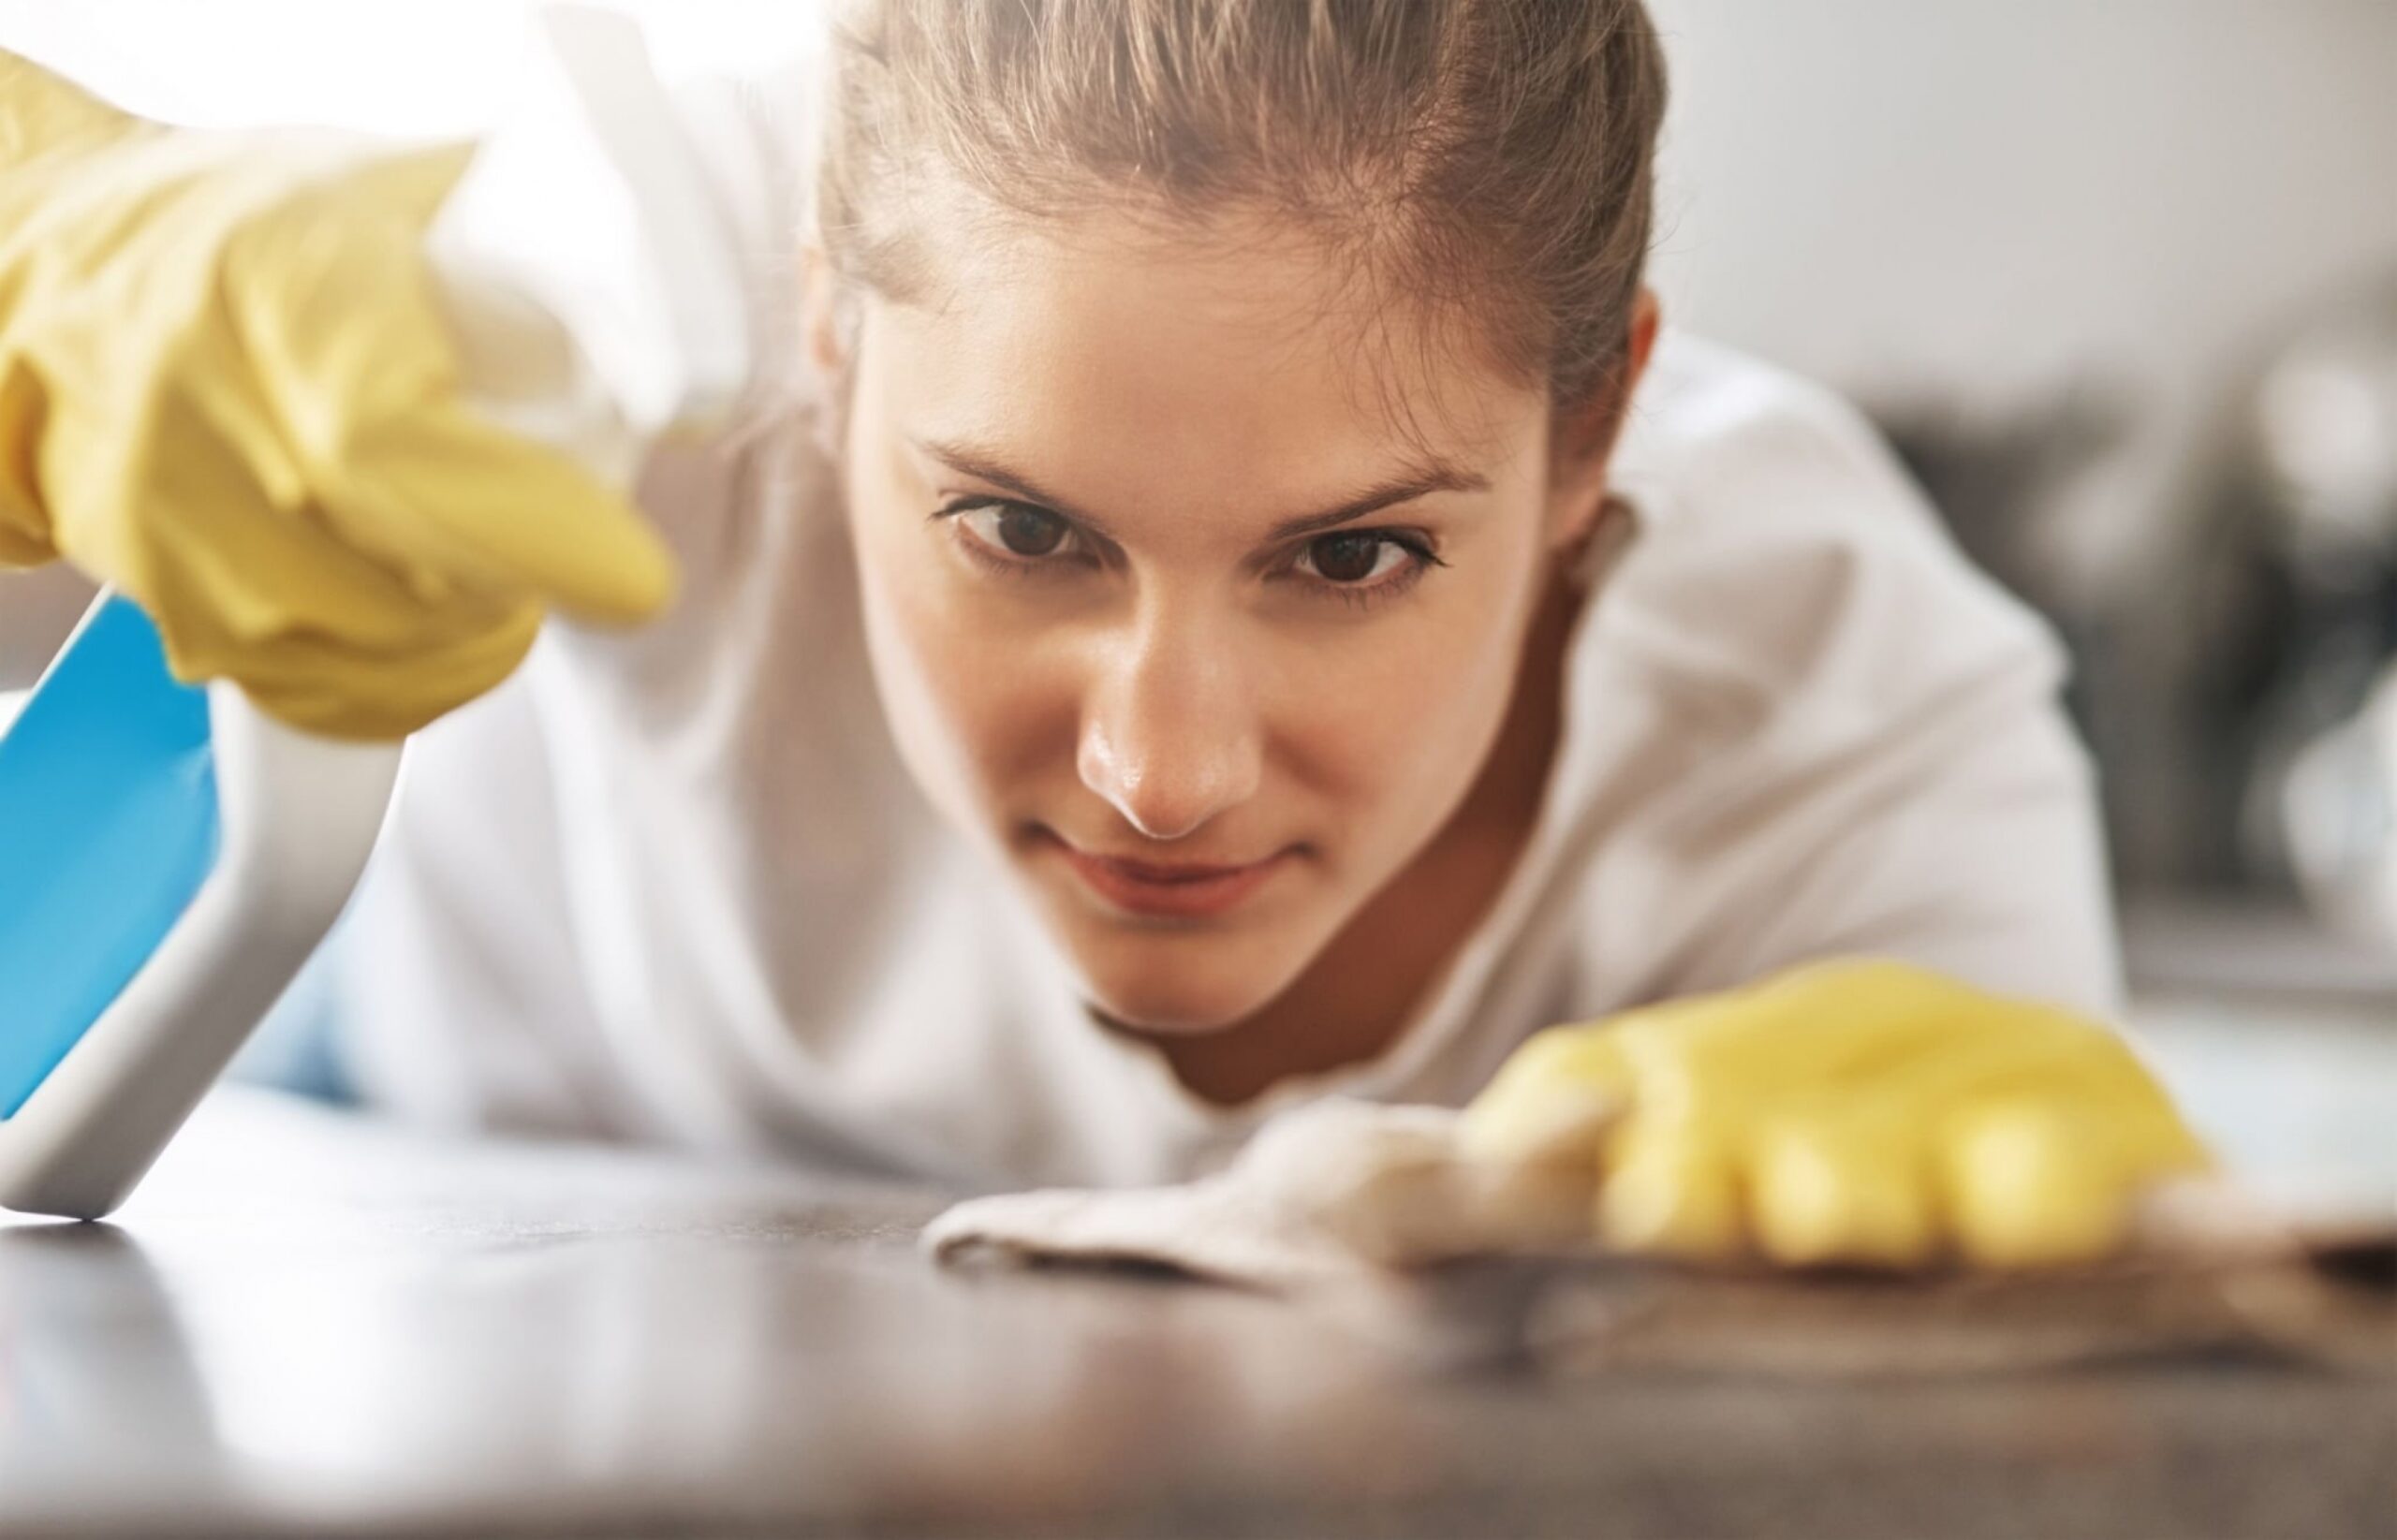
Disinfecting around the home is one of the most important tasks when cleaning. Even if its already a part of your regular cleaning routine, you should always take time to disinfect the surfaces around your house. Make sure to give extra time and attention to the high-touch and high-traffic surfaces like remotes, door handles, and light switches when you disinfect so that you know your family will be safe and healthy for the warmer months.
How to Stay Motivated to Spring Clean

If you’ve read through the tips and tricks and find yourself more overwhelmed than when you started, take a breath and don’t stress. Remember that we said that there is no right or wrong way to clean your home and that however you choose to clean your space is up to you. We know cleaning the whole house can be a daunting task, so allow us to offer some motivation and a few tips to help get you started:
- Remember to clean at your own speed, it isn’t a race and you don’t have to exhaust yourself to accomplish everything in one day. You can create a schedule and set goals for yourself and anyone else in the home to help you to start and finish the job at hand. Find what works for you and stick with it until the work is done.
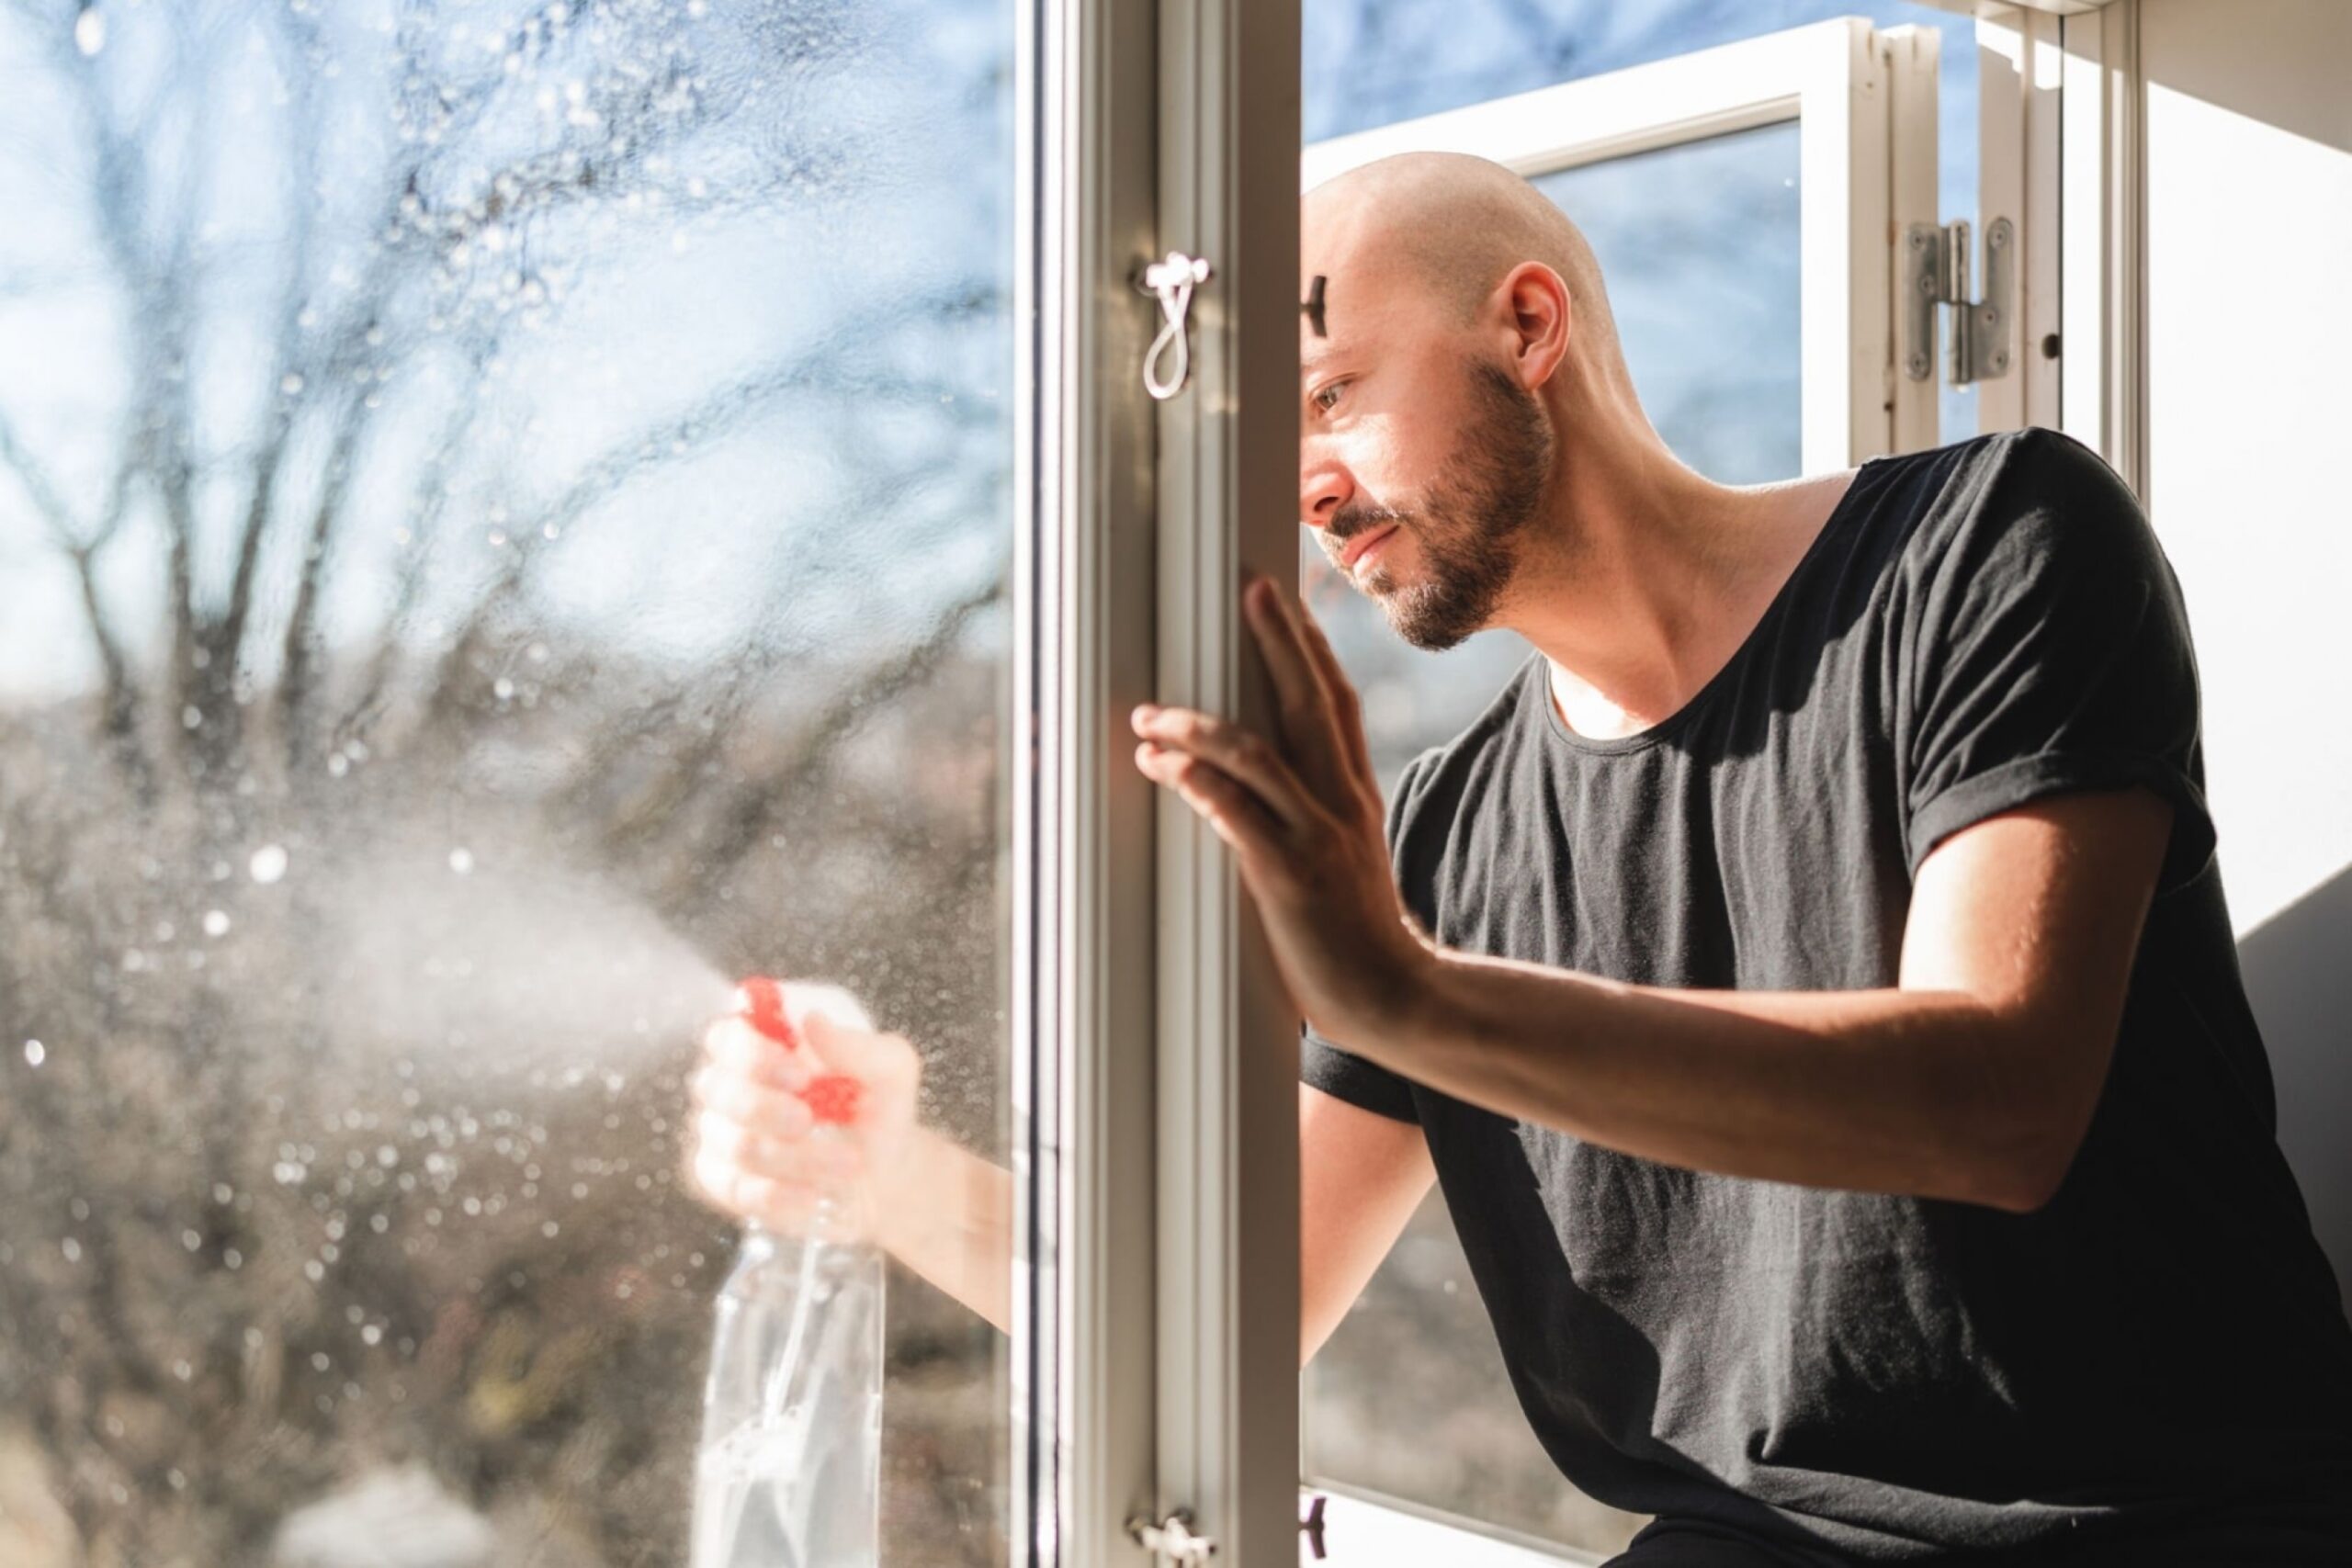
- Brighten up the space and your mood before you get started and as you work. Open up the windows to let in more natural light and turn on your favorite music to hype yourself up. You’ll find yourself working more efficiently and with more energy when you are in a sunny and energizing environment.
- Browse social media for some inspiration and put yourself in a mindset that is motivated to clean and see results. Cleaning can be a great way to reduce stress and be mindful of the items you bring in and keep in your home, so take some time to make a mental note of why you are cleaning and what your end goal is.
No matter if you’ve been cleaning for years or if this will be your first round of cleaning in a new space, spring cleaning is the best time to jumpstart the weekly and daily cleaning routines in your home. What kinds of spring cleaning tips and tricks do you use around your home? Share your advice in the comments, we’d love to hear from you!
If spring cleaning is simply not your forte but you’re in desperate need for some help keeping up with your home, we’ve got your back. You can check out Cleanzen’s Spring Cleaning services to find out how our services can help you around your home. Contact us today to find out what other services we can offer your home or business.
The post 10 Tips to Kickstart Your Spring Cleaning in 2023 appeared first on Cleanzen.
from Cleanzen https://cleanzen.com/blog/spring-cleaning-tips-for-2023/
via IFTTT
from Cleanzen Cleaning Services https://cleanzencleaningservices0.blogspot.com/2023/03/10-tips-to-kickstart-your-spring.html
via IFTTT
from Gabriela Bragg https://gabrielabragg.blogspot.com/2023/03/10-tips-to-kickstart-your-spring.html
via IFTTT
from Gabriela Bragg https://gabrielabragg.wordpress.com/2023/03/15/10-tips-to-kickstart-your-spring-cleaning-in-2023/
via IFTTT
from Emilio Butler https://emiliobutler.blogspot.com/2023/03/10-tips-to-kickstart-your-spring.html
via IFTTT
from
https://emiliobutler.wordpress.com/2023/03/16/10-tips-to-kickstart-your-spring-cleaning-in-2023/
from Cindy Roberts https://cindyroberts0.blogspot.com/2023/03/10-tips-to-kickstart-your-spring.html
via IFTTT
from
https://cindyroberts00.wordpress.com/2023/03/16/10-tips-to-kickstart-your-spring-cleaning-in-2023/
from Eldon Staggs https://eldonstaggs.blogspot.com/2023/03/10-tips-to-kickstart-your-spring.html
via IFTTT
via Eldon Staggs https://eldonstaggs0.wordpress.com/2023/03/16/10-tips-to-kickstart-your-spring-cleaning-in-2023/

Eldon Staggs
A garden is a planned plot of land adjoining a house that is used for cultivating new plants, flowers and fruits in trees and other forms of nature. The garden consists of both natural and man-made materials.
 RSS Feed
